Showing posts with label Halo Lights. Show all posts

Wednesday, January 11, 2023

Catherine Pooler Love & Lace Release!

 Hi friends,


It's been quite a while since you've seen me! My creativity took a hit when my depression spiked, the new Catherine Pooler sparked my creativity and I couldn't be more excited to show you what I created!


Today's card was inspired by the Roses are Red Stamp Set. I love this layering roses set, it's difficult to mess up honestly. I decided to stamp out 3 of the roses and several of the stems and leaves to create a pretty bundle then fussy cut them out, I recommend that you get the die set though since this was a little tedious!


Ink Colors used:

Rose Petals

Rouge

Garden Party

In the Park

Mardi Gras

Sage

Eucalyptus

Midnight


I used the Double Duty Circle Dies to cut a circle in a rosy pink cardstock, the another out of white cardstock to stamp the "Happy Birthday" from the Roses are Red Stamp Set.


I taped a Halo Light to the back of the card face and centered it on the backside of the white circle and used Double Thick Foam Tape to hold the card face up when I adhered it to the card base. 


I finished it off with a few enamel dots and I think the end result is pretty illuminating! Be sure to check out the entire new release from Catherine Pooler! I hope my card inspires you as much as this stamp set inspired me!


Stop by tomorrow for another new card using the Catherine Pooler new release!

Love,

R. Winn

Thursday, November 11, 2021

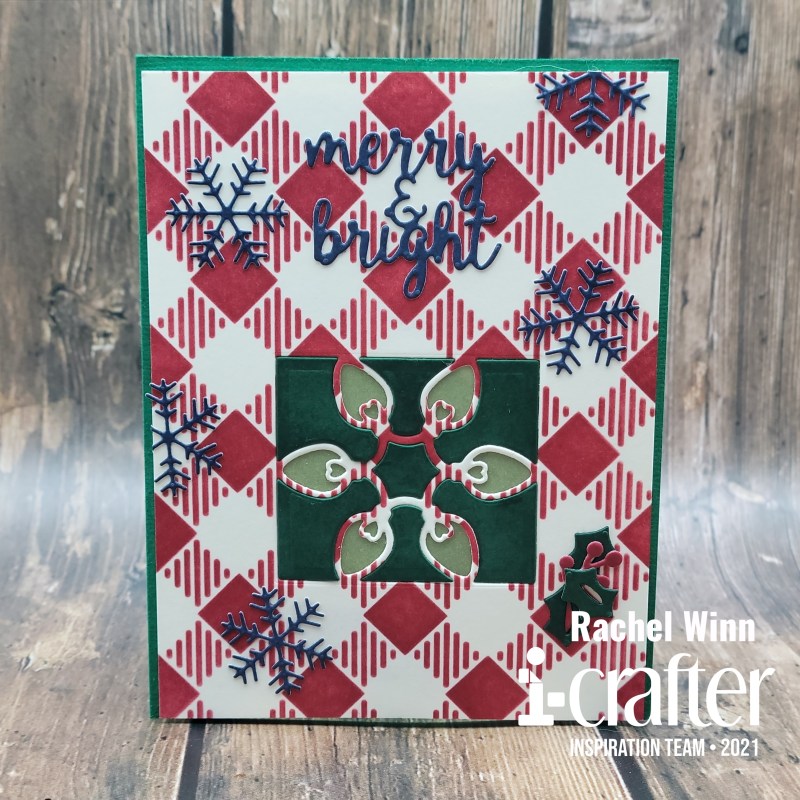
Light Up Christmas Card with i-crafter Dies and Pear Blossom Press Halo Lights

 Hello again friends,

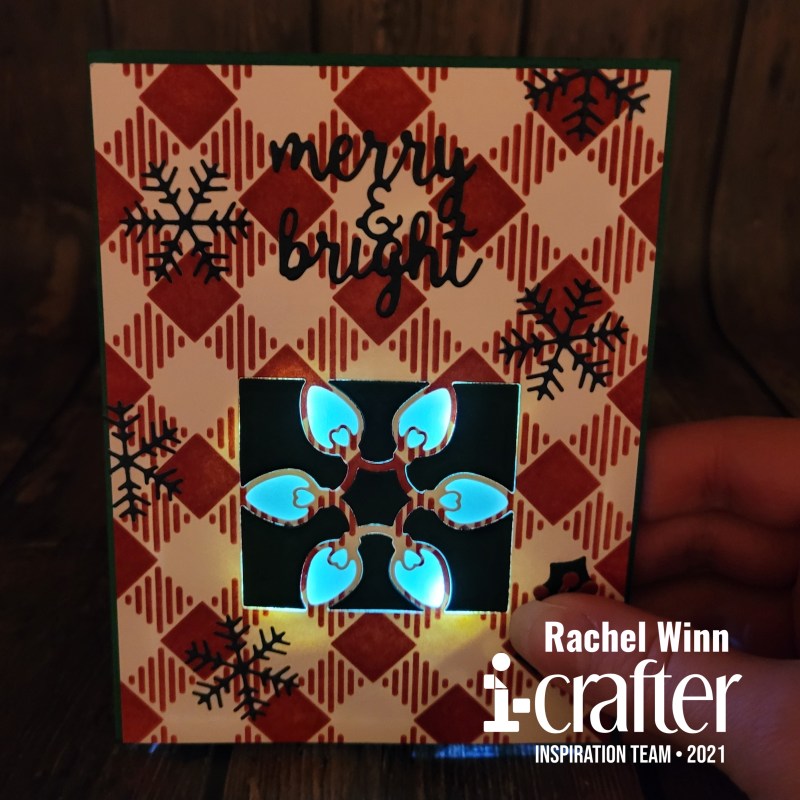
It's Rachel here showing off my take on the new i-crafter Christmas Treat Lantern Add-On die set! I wanted to light this die set up since I first saw it. Since I just did a light up lantern, I thought it would be fun to create a Christmas card instead this time. 

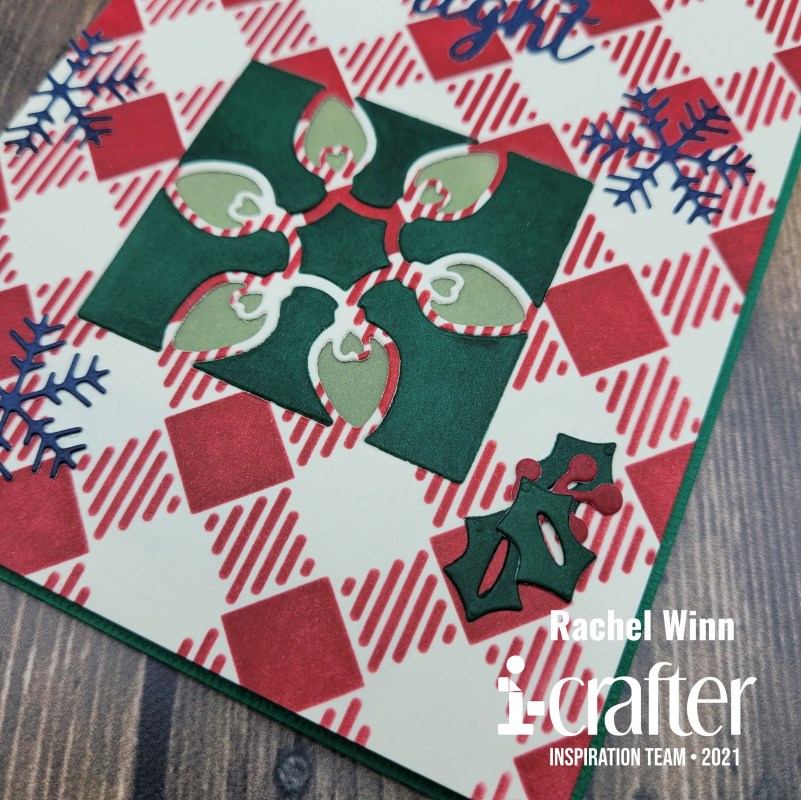
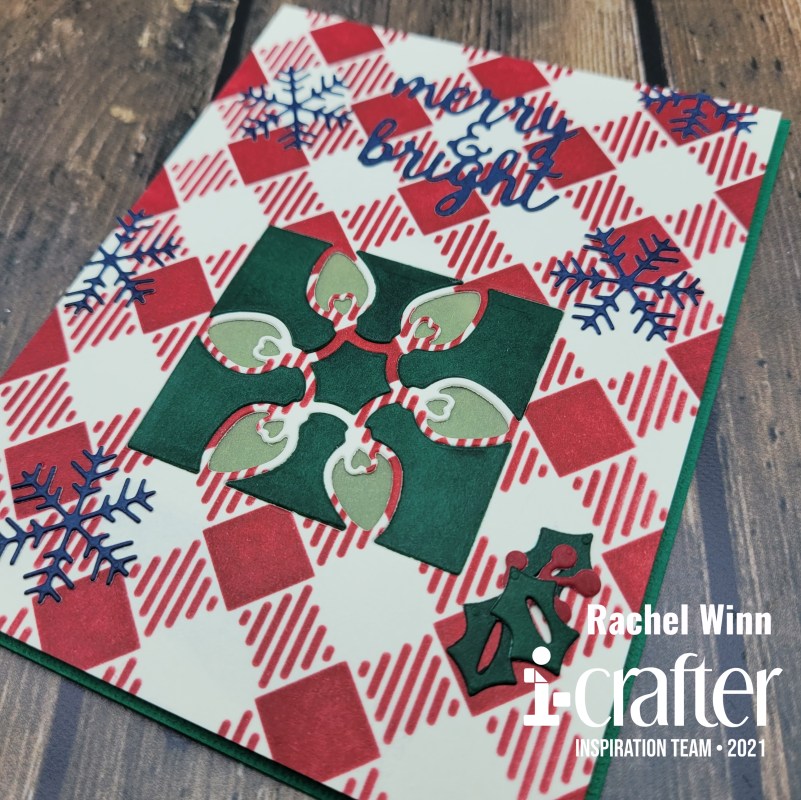
I started with the i-crafters's Buffalo Plaid Stencil and used Catherine Pooler's Cranberry Fizz ink over a vanilla cardstock. Next, I used the lights die from the Christmas Treat Lantern Add-On die set in the bottom center of the panel that I stenciled on. Used Catherine Pooler's Deck the Halls ink on the vanilla cardstock and ink smooshed the pad directly onto the cardstock, then used the lights die again to get the center pieces of the image. To create a yellow glow for the lights, I ink smooshed Catherine Pooler's Chiffon, a bright yellow ink onto vellum and glued it the back of the plaid panel. Once that was glued down, I added the green center pieces back into the image.

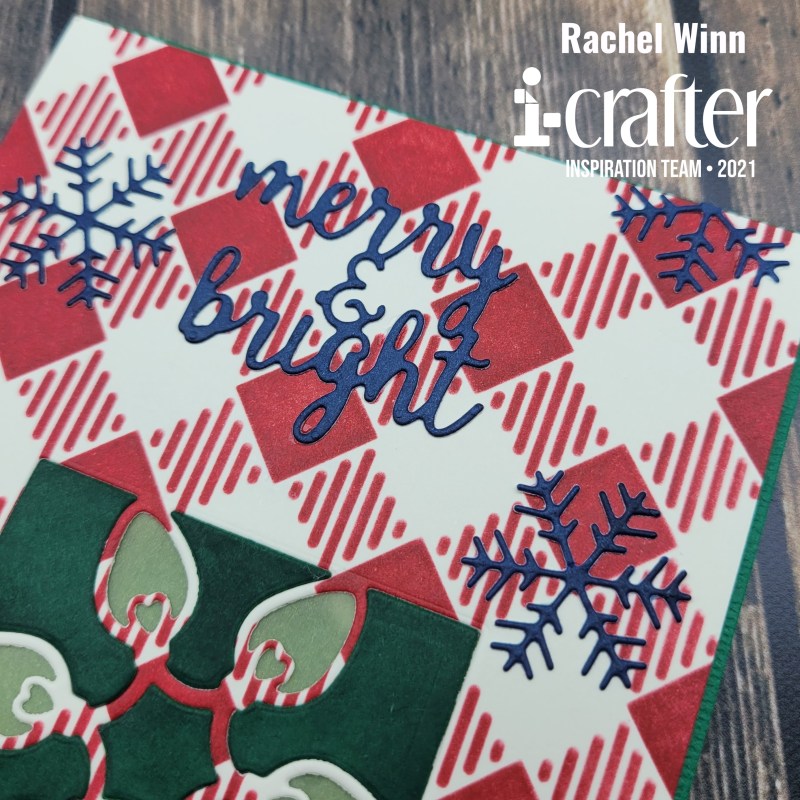
 I used the "Merry & Bright" word dies and the snowflake from the i-crafters's Holiday Dovetail Card die set to decorate the card. Again, I ink smooshed Catherine Pooler's Juniper Mist ink directly onto the vanilla cardstock. I cut out the words and five snowflakes. I cut two down so that I could position them on the edges.

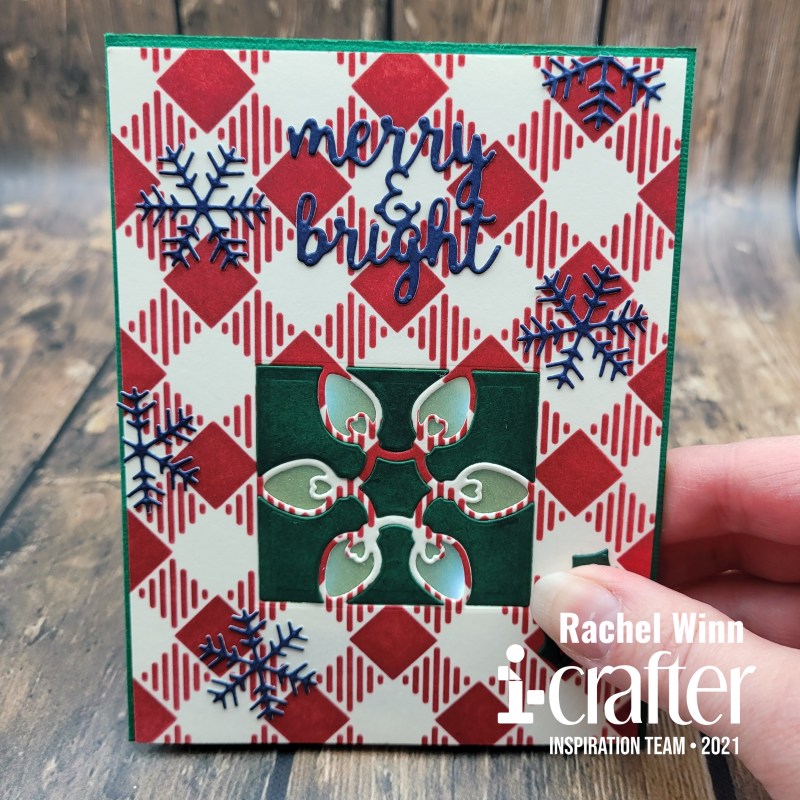
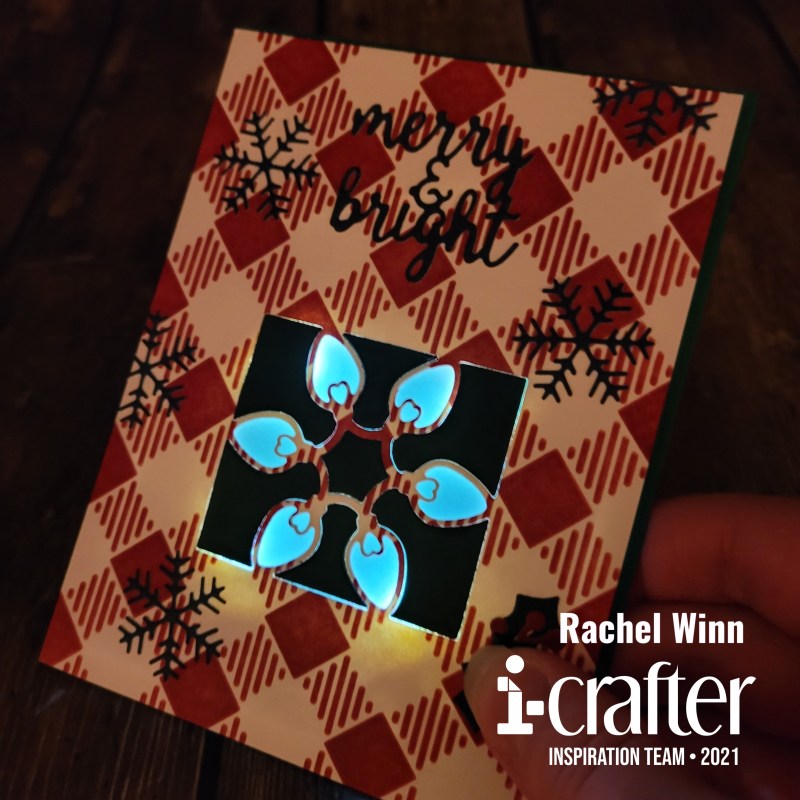
I then took the holly and berries from the i-crafters's Christmas Treat Lantern Add-On die set and positioned them over the button to my Pear Blossom Press Halo Lights, which is what I used to light up the card. I should have taken a picture of the back of the panel before I glued it down. I wanted something quick and easy and the Pear Blossom Press Halo Lights were perfect, they have 4 built in LED lights. I positioned the lights so they hit the corners of the box instead of positioning it straight up and down.

You cane see how perfectly the lights from the Pear Blossom Press Halo Lights worked with the box when it's lit up.

I couldn't be happier with how it turned out!

Here is a short video with the card in action! I hope that you enjoy it as much as I do!

If you’d like to see more of my projects, you can follow me here: Instagram, and Facebook page.

 
Until next time,
Rachel
 
For more inspiration, updates, and news make sure to check out these awesome places!
 
 
Thank you so much for stopping by today!

Saturday, May 1, 2021

Dashed Circles, i-crafter May Release

Hi again friends!

It's i-crafter's Release Day and I am so excited to share the new Dashed Circles dies. This set is super versatile and allows you to use your other i-crafter products (and every other company's products) in even more fun ways! The dies cut dashes on two sides of the cut circle creating a positive and negative space that can be used on your projects. I have 3 cards to show you today with fun ways to create using this great new set.

My first two projects use paper from Echo Park's Perfect Princess paper pad. I have two adorable little girls that are getting a package from me soon and I wanted to include some cards for them. 

The first card, I folded my card base out of a dark gray, and took the die to the very edge of the fold. By placing the cutting circle just over the fold, I was able to cut *almost* a full circle card base. My cutting machine didn't fully cut the bottom circle's dashes, I could have recut or used a shim to help it, but decided that I liked the look and kept it as is.


Next, I picked my patterned papers from the Perfect Princess pad, and die cut two Dashed Circles from it, the larger of the two circles is the princesses, the smaller is a sentiment that says "little girls have a magic of their own, princess." 

I added a medium sized Dashed Circle in a bright yellow to contrast with the gray and create space between the two patterned papers. This was popped-up on a thin foam tape, then the smallest Dashed Circle was added to it. I finished the card with 3 light purple heart embellishments from HAI Supply

The second card, I used the same paper pad, but wanted to show off a few more tricks the Dashed Circles die set can do! I started with a blue-green card base then cut down another piece of the yellow to add on top of that. I cut out various pieces of the patterned paper that I wanted to include. Next, I took a medium sized Dashed Circle die, and added the die one size smaller in the center of it. I cut both of these at the same time, creating a frame for my unicorns (I lined up the outer circle dashes on both the unicorns and the frame) and a back layer for my crowns.


After playing with the layout of the 4 patterns, I turned my attention to the sentiment circle "You're a princess". In order to highlight this circle, I positioned the smallest Dashed Circle die in the top left of the yellow layer, creating a negative space that opened up to the blue-green base. I added foam tap to the back of the sentiment to give it more depth. I finished this card off with some Raspberry DoubleClick Skittles.

My last card is super shiny! I stared with a black card base to make the Holographic Cardstock pop more, in the center of this shiny layer, I used second from the smallest Dashed Circle die and cut a negative space. I used this to line up the location for my Halo Lights. I added the center cut piece of the Holographic Cardstock to help the light reflect upwards more (black tends to absorb light so this helped more go upward.) I also used a metallic blue marker to fill in the rest of the black, thinking I would be using vellum to fill the negative space, which I later decided against.


Next, I cut out 2 partial Dashed Circles from a striped pink cardstock scrap. I grabbed the scraps of my yellow cardstock from earlier and cut out "Shine on" for the top circle, and "like a" for the bottom circle with i-crafter's Carly alphabet dies. For "diamond" and to fill the negative space in the center, I used Light Blue Metallic Paper.


I finished the card off with Diamond Clear Jewels from HAI and by writing in "Push" since I failed to stamp it before I glued everything together! Here is a short video show off card all lit up!


Head over to i-crafter to get the new Dashed Circles die set, and check out the other wonderful new release items too! Be sure to join the i-crafter Facebook Fan Club, then follow us on Instagram, and Pinterest too! We love seeing all of your creations using the i-crafter products.

Until next time,
R. Winn