I tried to use some Cool Gray Copics on the lid but it didn't work out as well since the surface is so reflective. Once the lids were glued to the front and back pieces, I used twine to add a little bit of a rustic feel to the card. To do this, I added glued the back of panel and wrapped it a few times. The front piece, I tied a simple knot on the front, the back panel I tied it in the back so it appears to be wrapped around both pieces without a break. Next, I added two side panels and two bridge or center pieces that I cut out in that same light blue to keep that jar look intact.
Sunday, August 1, 2021
i-crafter August Release
Thursday, July 1, 2021
Christmas in July with i-crafter
It's Christmas in July time for i-crafter! Today I am sharing a home decor piece that I created using the new Folded Holly die set. I started with an 8"x10" canvas that I coated in Modge Podge and liquid adhesive.
Next, I ripped up scraps of cool blue toned scrapbook paper then pasted them onto my canvas. I love the results, it looks like a scrapbook paper quilt to me. I covered the entire thing with a clear glossy sealant.
For the Folded Holly, I die cut 3 holly leaves from a rich green cardstock. I used the i-Press to crease my leaves. The trick with these was folding the two sides together. Once I got them together and adhered them, I used the i-Grip tweezers to hold the sides together while the glue dried.
I used scraps from a dark glittery red cardstock for the larger circle of the berries, a bright red cardstock, and white scraps for the little white dots. In order to add a bit of dimension I used the round circle end of the i-Press to burnish the backs of the berries so they're a little bumped out. I added a fourth red circle behind the 3 main circles.
I wanted to add a little something to the bottom of the canvas so I used "Merry Christmas" word dies from the new Christmas Words set to cut two sets out, one from black cardstock and another from the bright red cardstock of the berries.
Monday, June 8, 2020
Scrap buster with i-crafter Hummingbird Happiness
Hello friends!
I have a card up on the i-crafter blog for the first time today!
This card was a bit of a labor of love for me, using the new Hummingbird Happiness dies. I typically am more of a colorist, and don't use many intricate dies, but as soon as I saw the Hummingbird Happiness die I knew what I wanted to do with it... use up some scraps! I have these 8.5"x11" clear pockets FULL of scraps, organized by color of course.
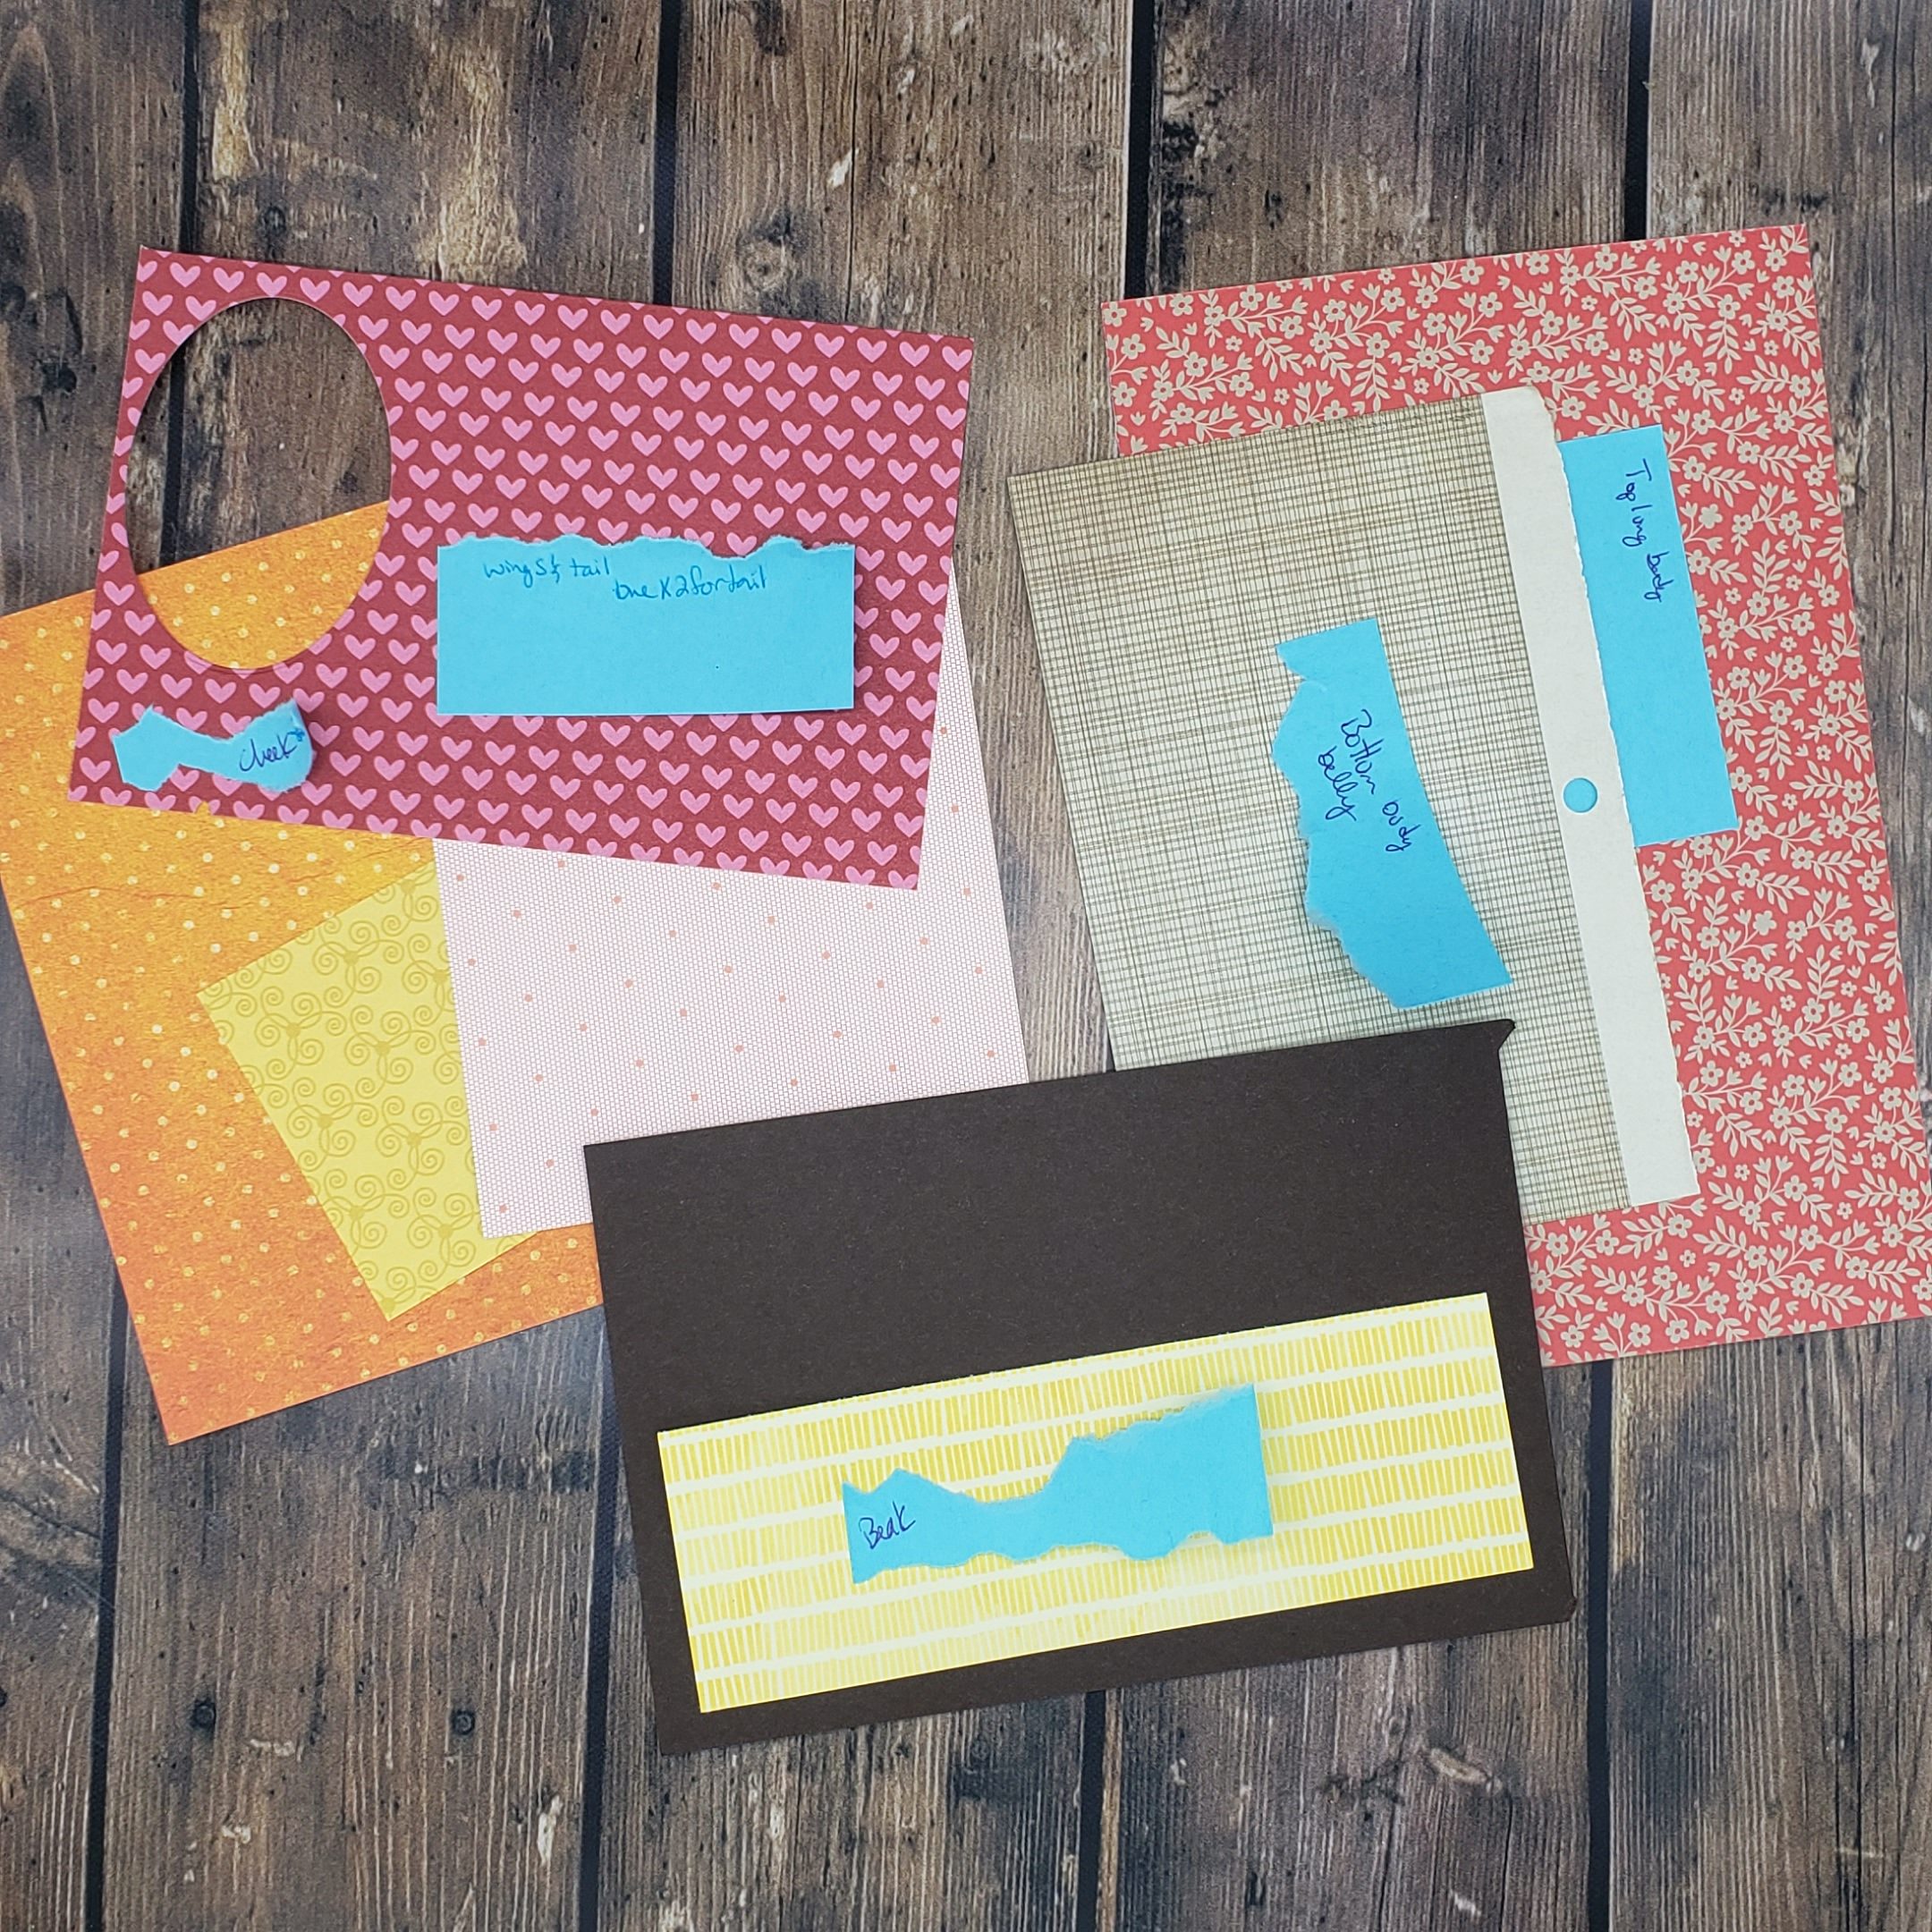
I started by pulling down the Patterned Paper scraps that I have, because I find ways to use the solid colors constantly, but Patterned Paper is harder for to use in general. I pulled out several pieces to decide which I liked together. I labelled them with how I thought I wanted it all to go with sticky notes.
After I was happy, I started to die cut. This set takes a lot of cutting. I ended up pulling my mini die cutter out after a bit so I didn't have to keep getting up and down. HA! I inevitably still ended up needing to do more cutting to have all the pieces necessary.
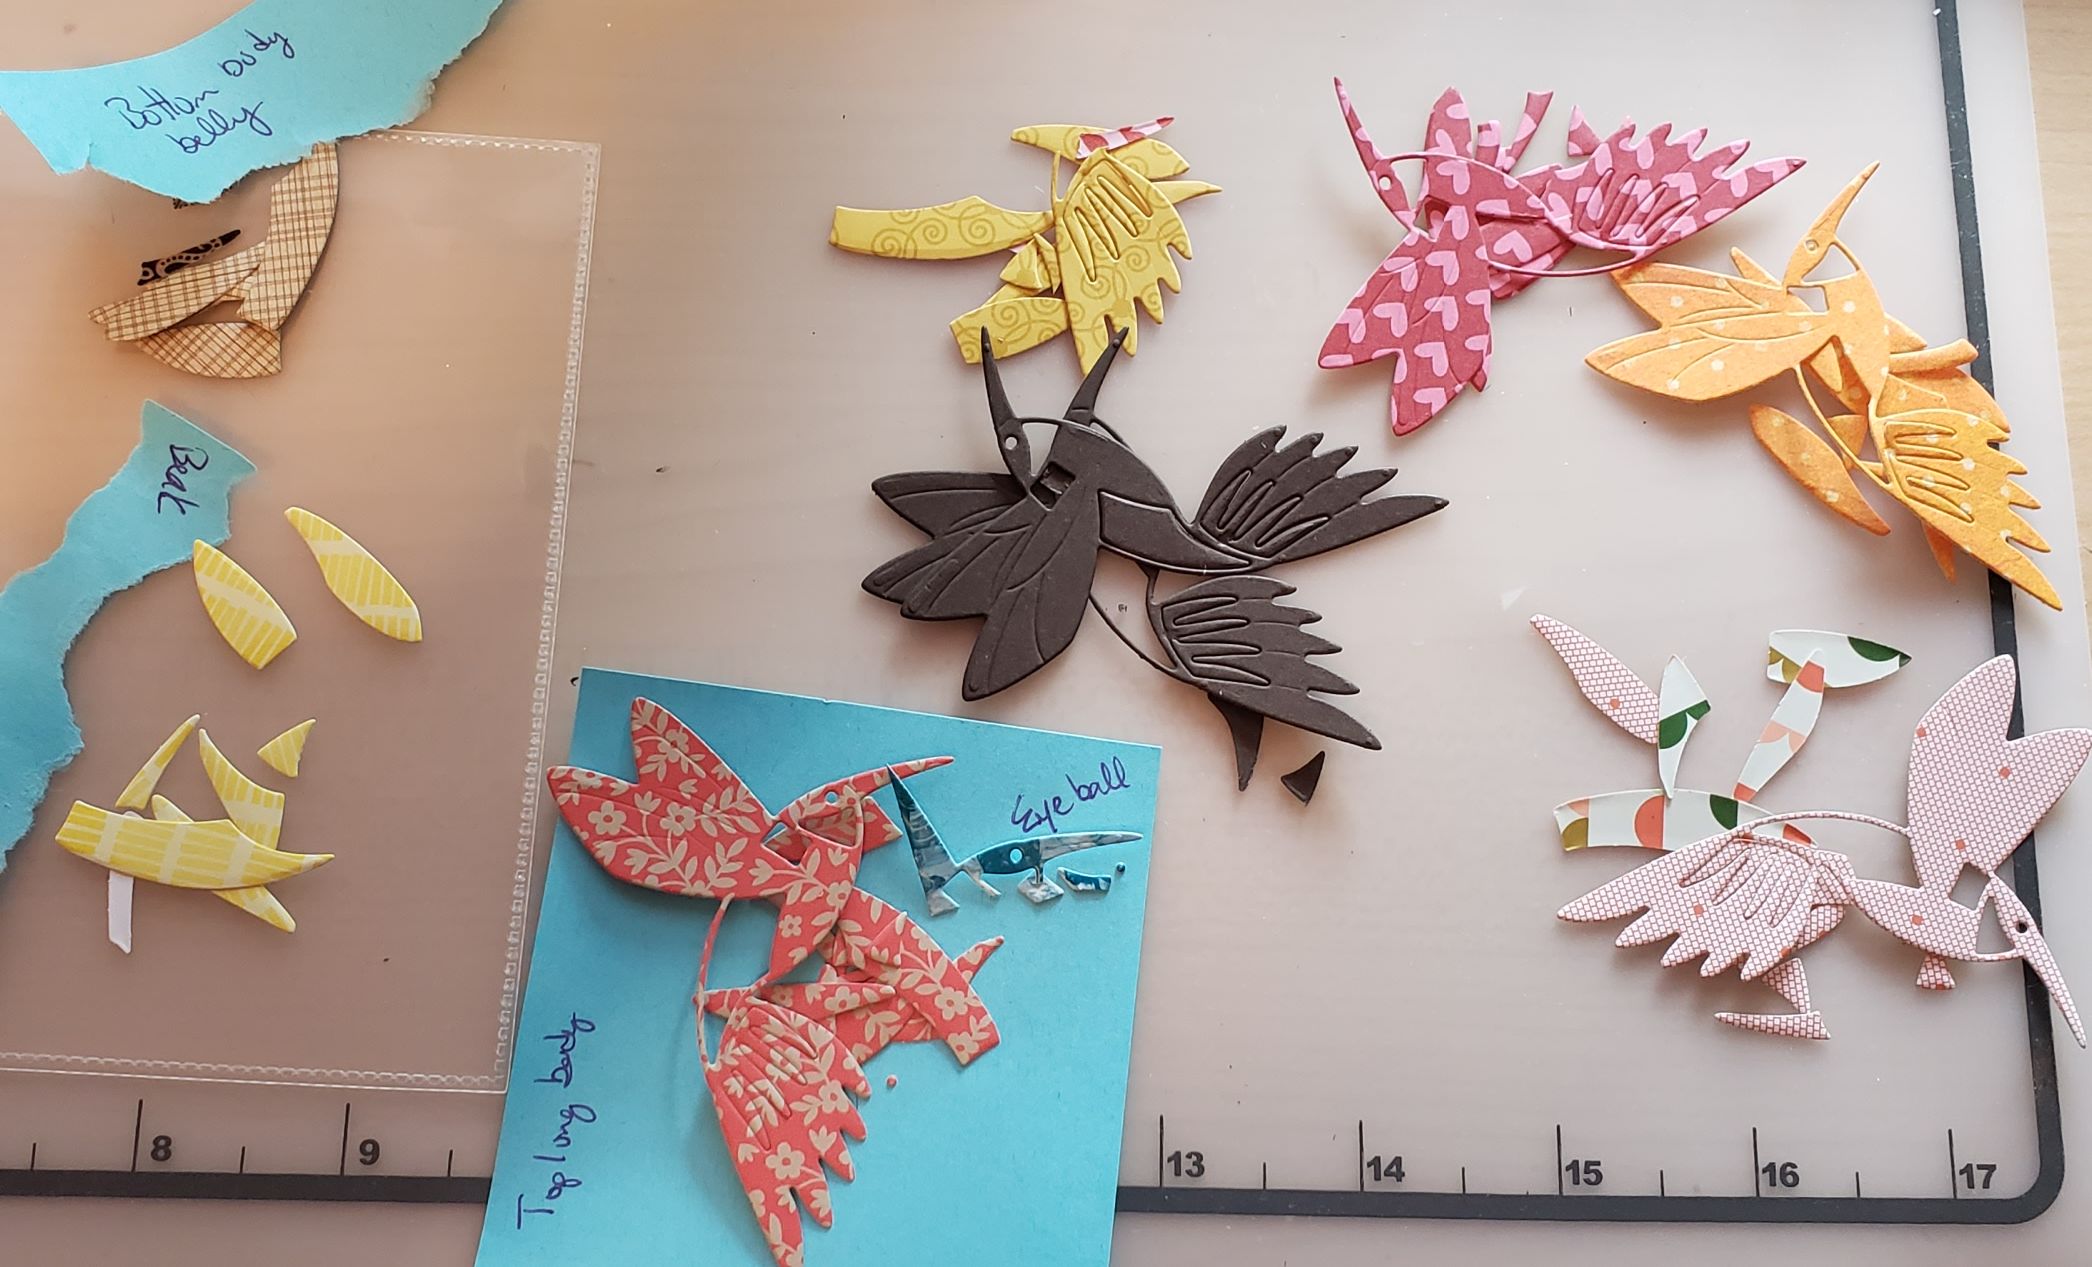
I followed the picture tutorial for Hummingbird Happiness because complex dies are NOT my forte. Starting with a wing, and building from there. I am not one for worrying about does this side match that side, because in nature, the same color may not be in the same place.
Next, I die cut a million (ok, that's an exaggeration) little trumpet flowers and leaves out of more scrap paper. For the flowers, I focused on pinks and reds, using both patterned and glitter papers. For the leaves, I used more solid or stubble patterns.
Then I built. I cut down a large piece of purple scrap paper that started as a scrapbook paper for the background, took my hummingbird and one of the flowers that I had used foam tape to have the front petal lifted and stuck his little nose INTO the flower. I layered the leaves and flowers to created kind of a garden or bush look with the flowers.
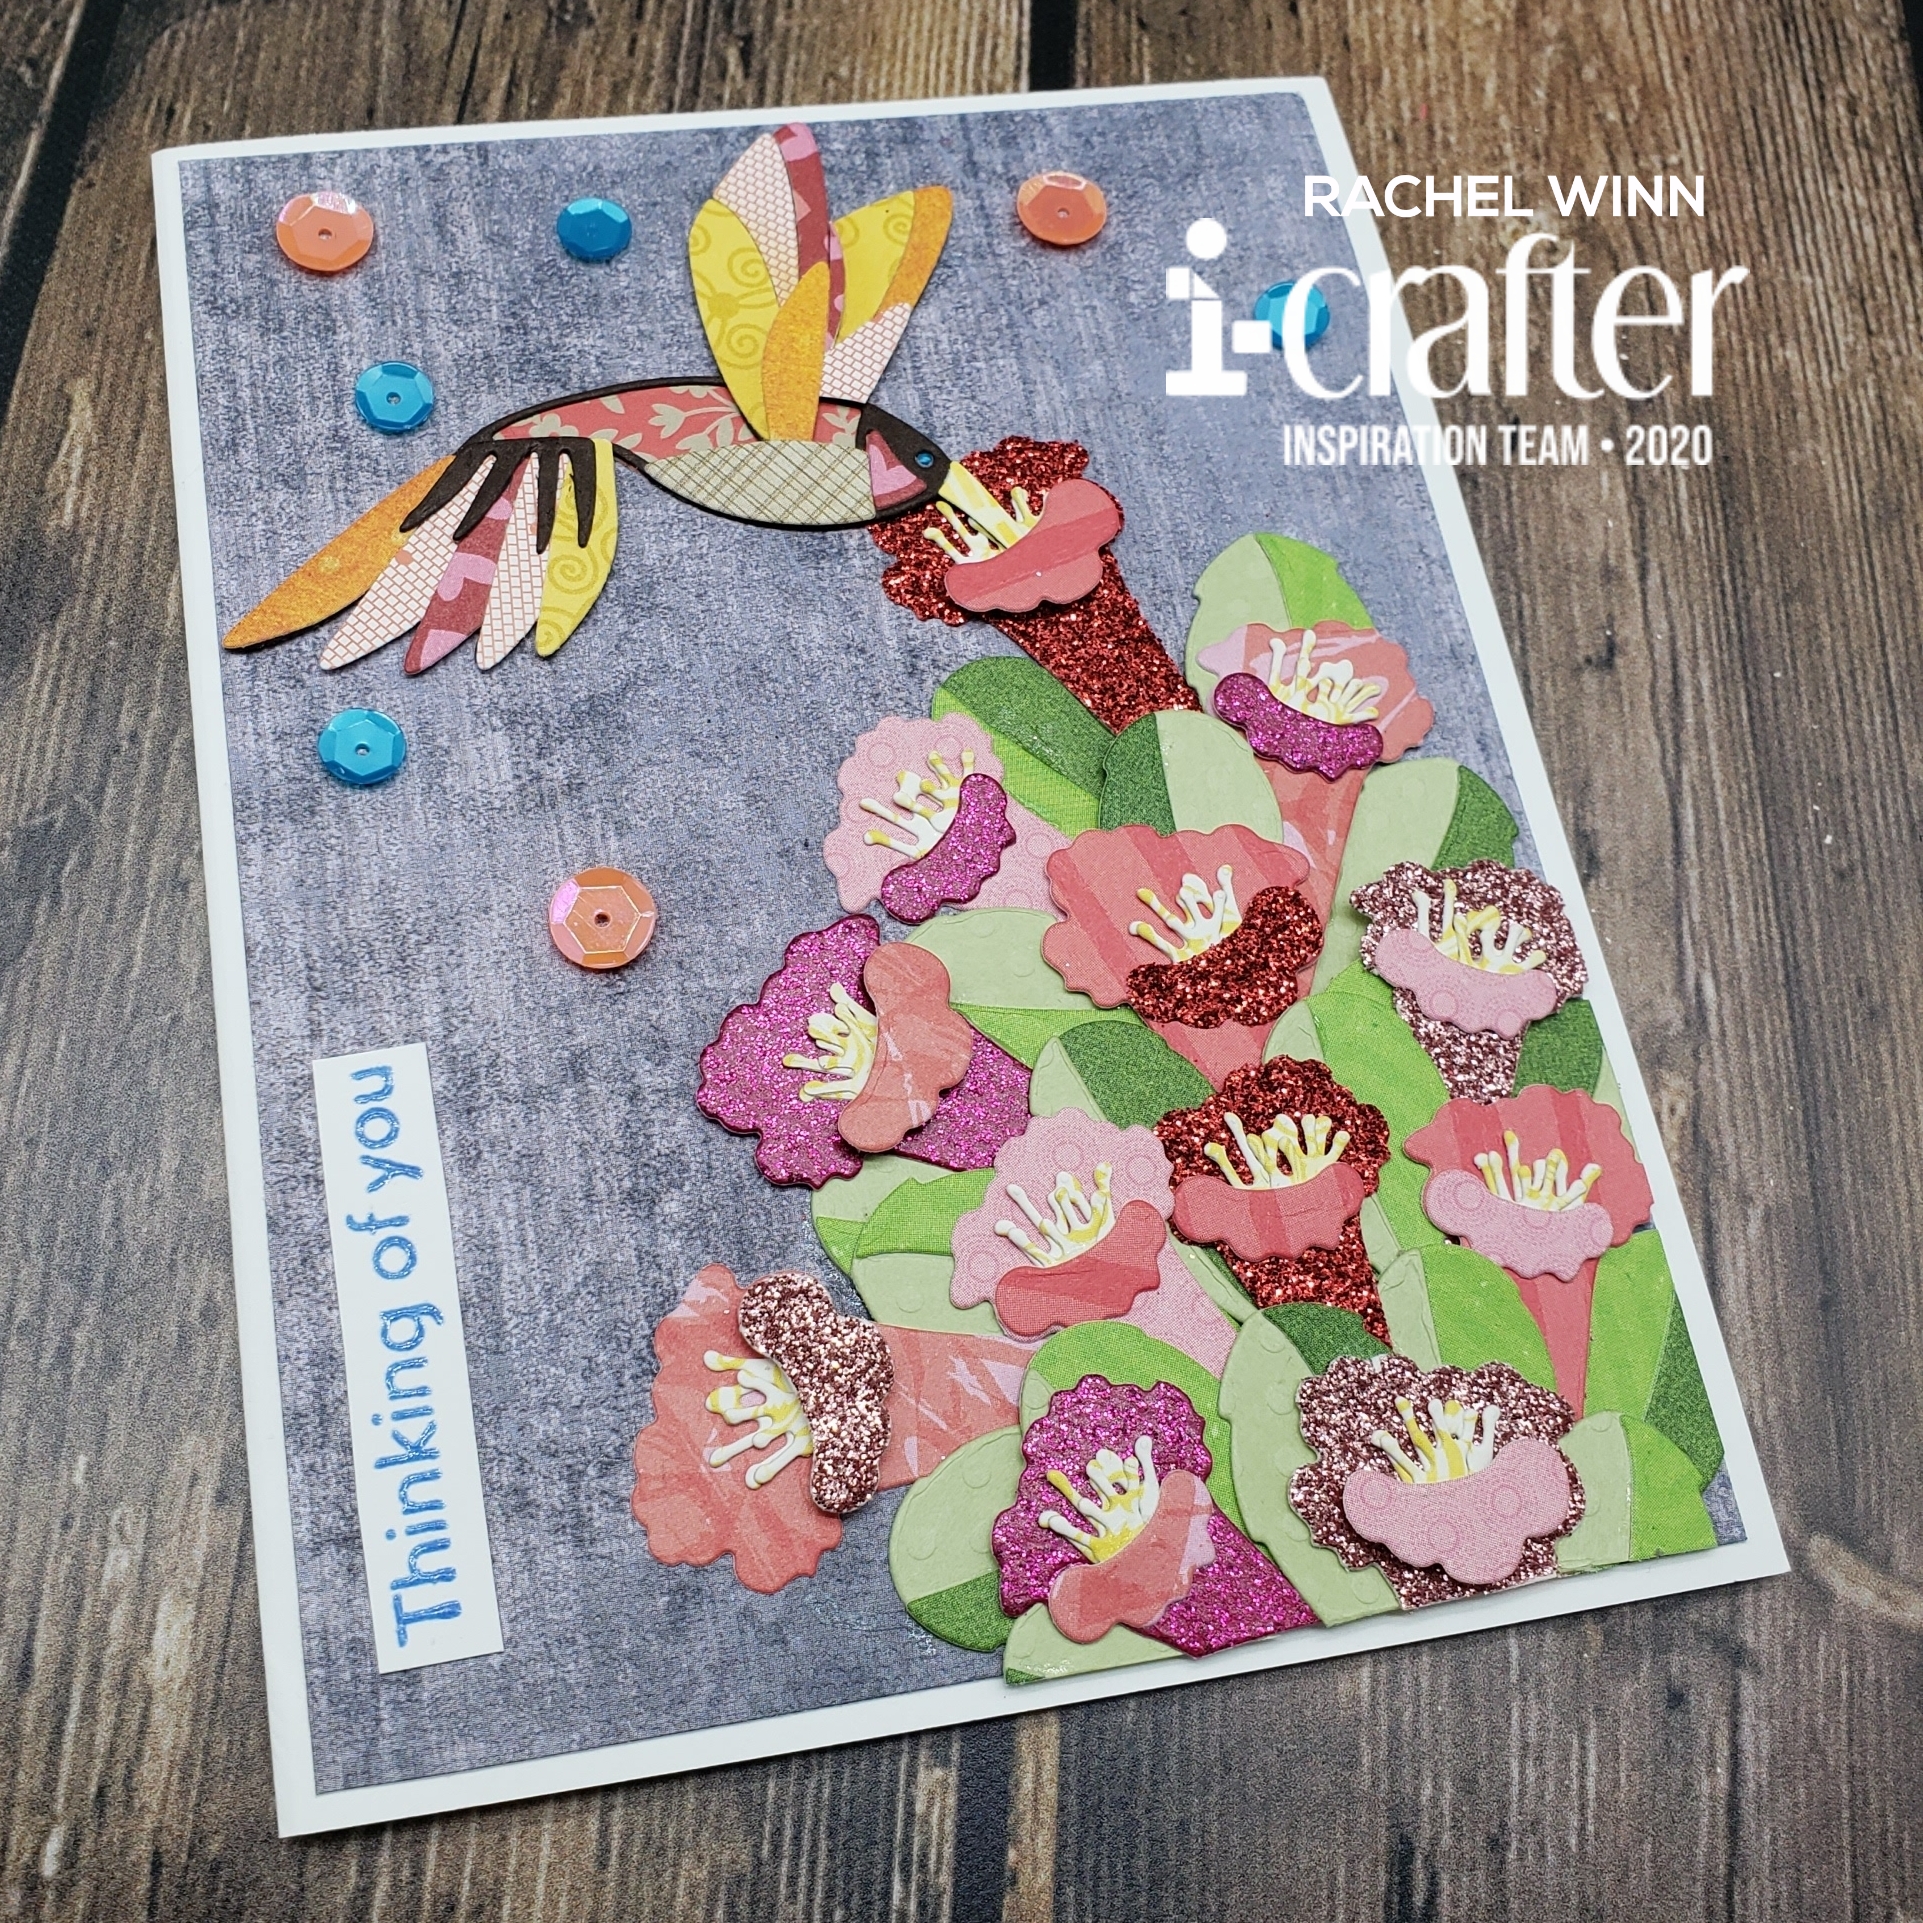
I kept my background handy and made sure that as I layered, the flowers stayed on the card base. At the end, I trimmed just a few flowers and leaves on the bottom and right side that flowed over. I was ok with that since I didn't want it to look like the flowers just ended.
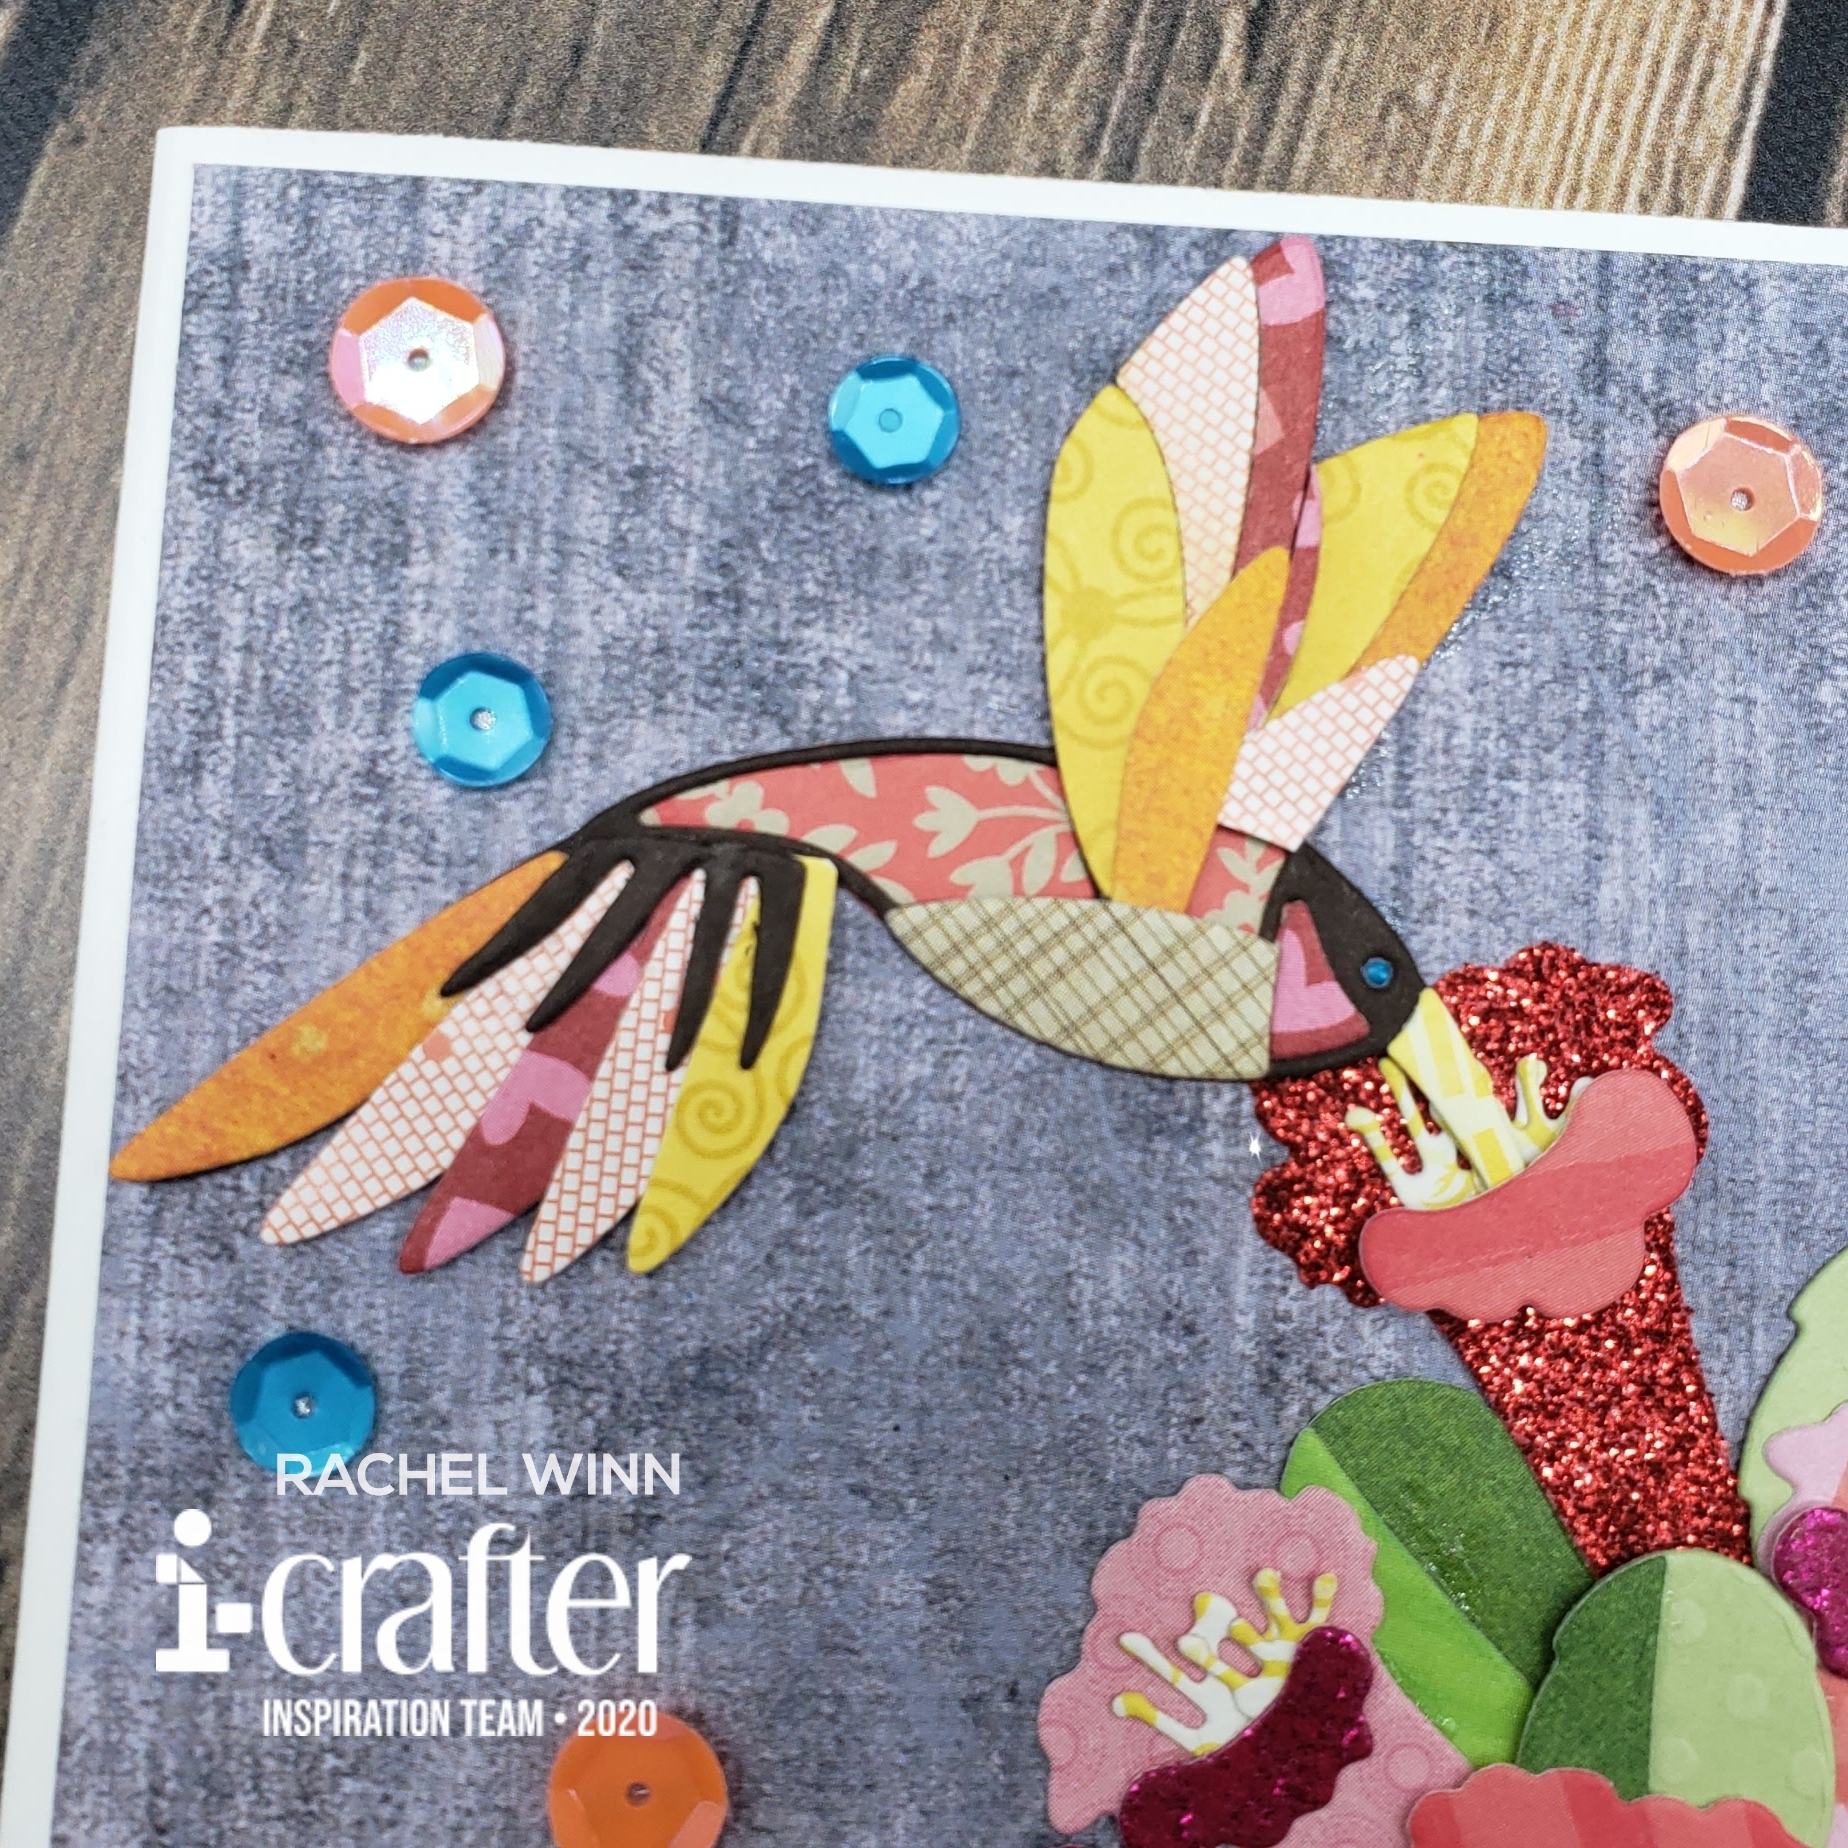
I stamped "Thinking of You" from the Scattered Thoughts Sentiment Stamps in Skysail Blue Hybrid ink using my Mini MISTI and heat embossed it using clear embossing powder. This was glued in the bottom left corner, then I added a few orange and blue sequins.
I hope that this has given you some inspiration and that you will grab the Hummingbird Happiness dies, Scattered Thoughts Sentiment Stamps, and the Skysail Blue Hybrid Ink. I can't wait to see what you make with them, come join our i-crafter Facebook Fan Club to show off your own scrap hummingbirds!
If you want to see more from me, my instagram is HERE, and my Facebook page is HERE!
You will get to see another project from me here on the i-crafter blog later this month!
~R. Winn


