Showing posts with label i-crafter ink. Show all posts

Thursday, October 15, 2020

Annie's Adventures: Happy Hanukkah

 Hello again friends!


Today, I am sharing my project for the Kindred Stamps Monthly sets. I used the new Annie's Adventures Happy Hanukkah stamp set. 


I started by coloring up Annie using Prismacolor and Chameleon colored pencils. I wanted a soft look and really find that colored pencils give me just that. I used a circle die from The Stamp Doctor's Circles #1 set to cut her out and layered it with another circle from the set and used a die from Stitch Circles #2 to add a bit of detail to the bottom layer.


Next, I placed the Kindred Stamps Blizzard Stencil on a sheet of blue cardstock and covered it with a layer of the DecoFoil Blanco Transfer Gel with my Stencil Pal. This I foiled with a Heidi Swapp Iridescent Silver Foil. I cut this down and layered it onto a white card base.


 I used an extra piece from The Stamp Doctor 's A2 Card in a Box to cut out the sentiment "Happy Hanukkah" from the Annie's Adventure's set. To add a bit of  interest to the die cut piece, I used i-crafter's i-brush Blender Brushes and Skysail Blue Hybrid Ink around the edges of the rectangle.


I'm excited to send this off to my friend Laura this holiday season since I colored Annie up in her likeness! Be sure to check out all of the new monthly sets available on the 16th at Kindred Stamps!


~R. Winn 

Monday, June 8, 2020

Scrap buster with i-crafter Hummingbird Happiness

Hello friends!

I have a card up on the i-crafter blog for the first time today! 

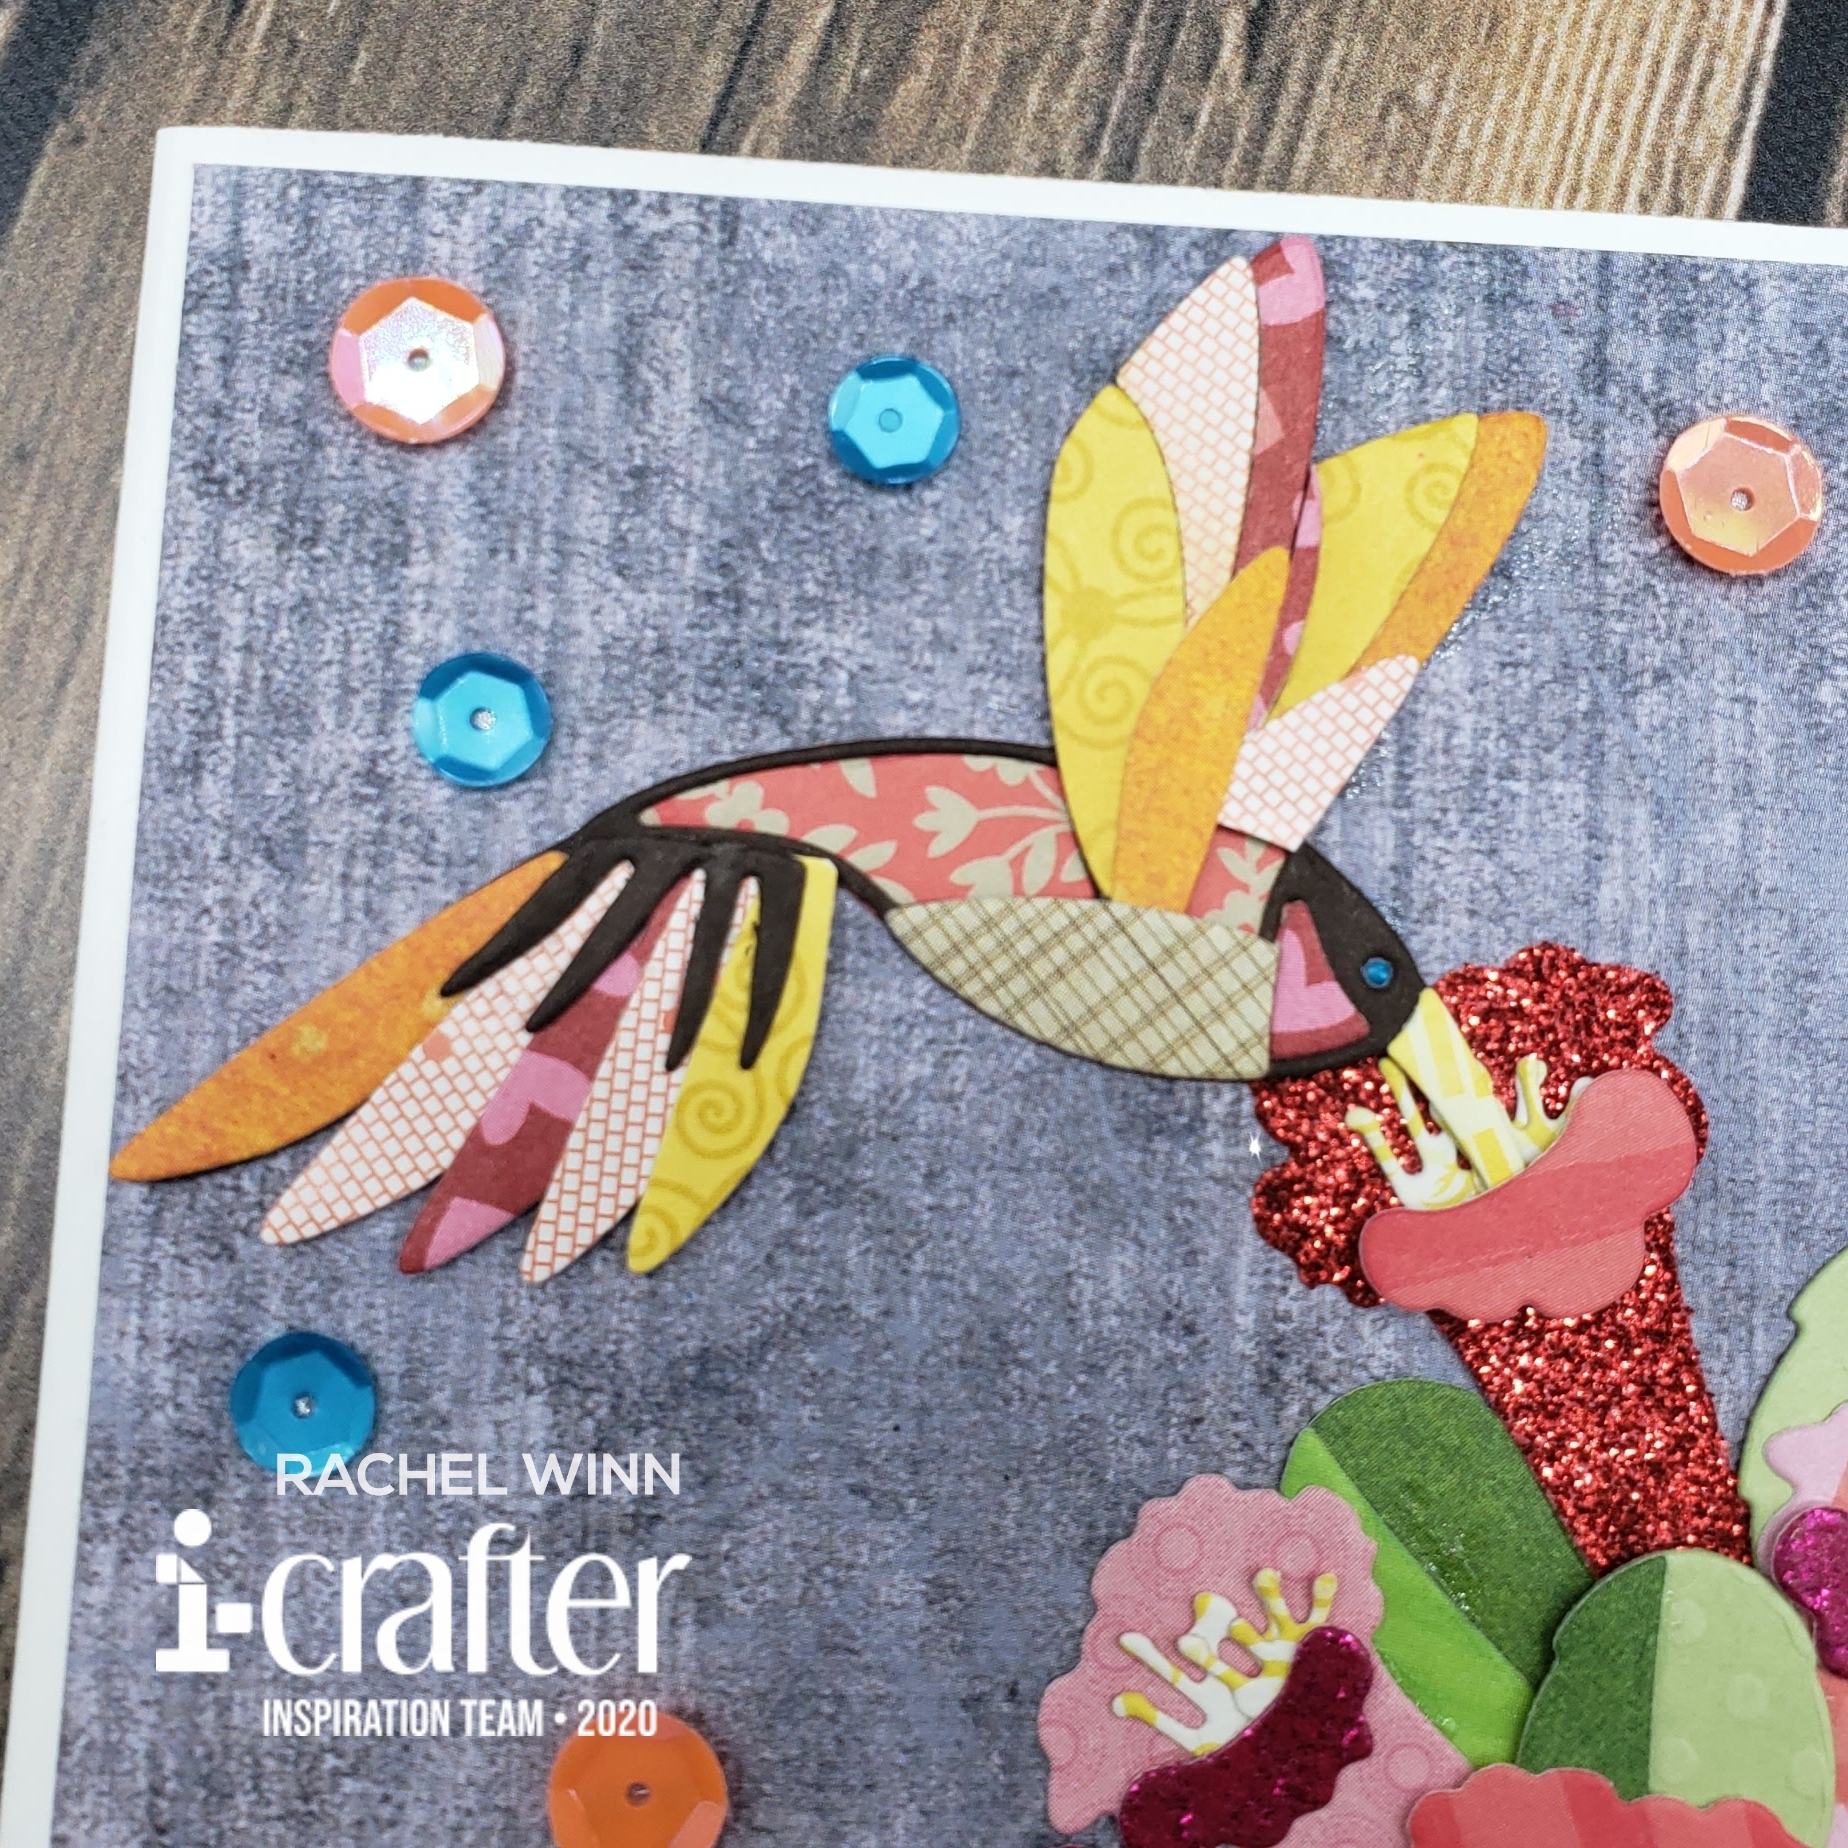
This card was a bit of a labor of love for me, using the new Hummingbird Happiness dies. I typically am more of a colorist, and don't use many intricate dies, but as soon as I saw the Hummingbird Happiness die I knew what I wanted to do with it... use up some scraps! I have these 8.5"x11" clear pockets FULL of scraps, organized by color of course.

I started by pulling down the Patterned Paper scraps that I have, because I find ways to use the solid colors constantly, but Patterned Paper is harder for to use in general. I pulled out several pieces to decide which I liked together.  I labelled them with how I thought I wanted it all to go with sticky notes.
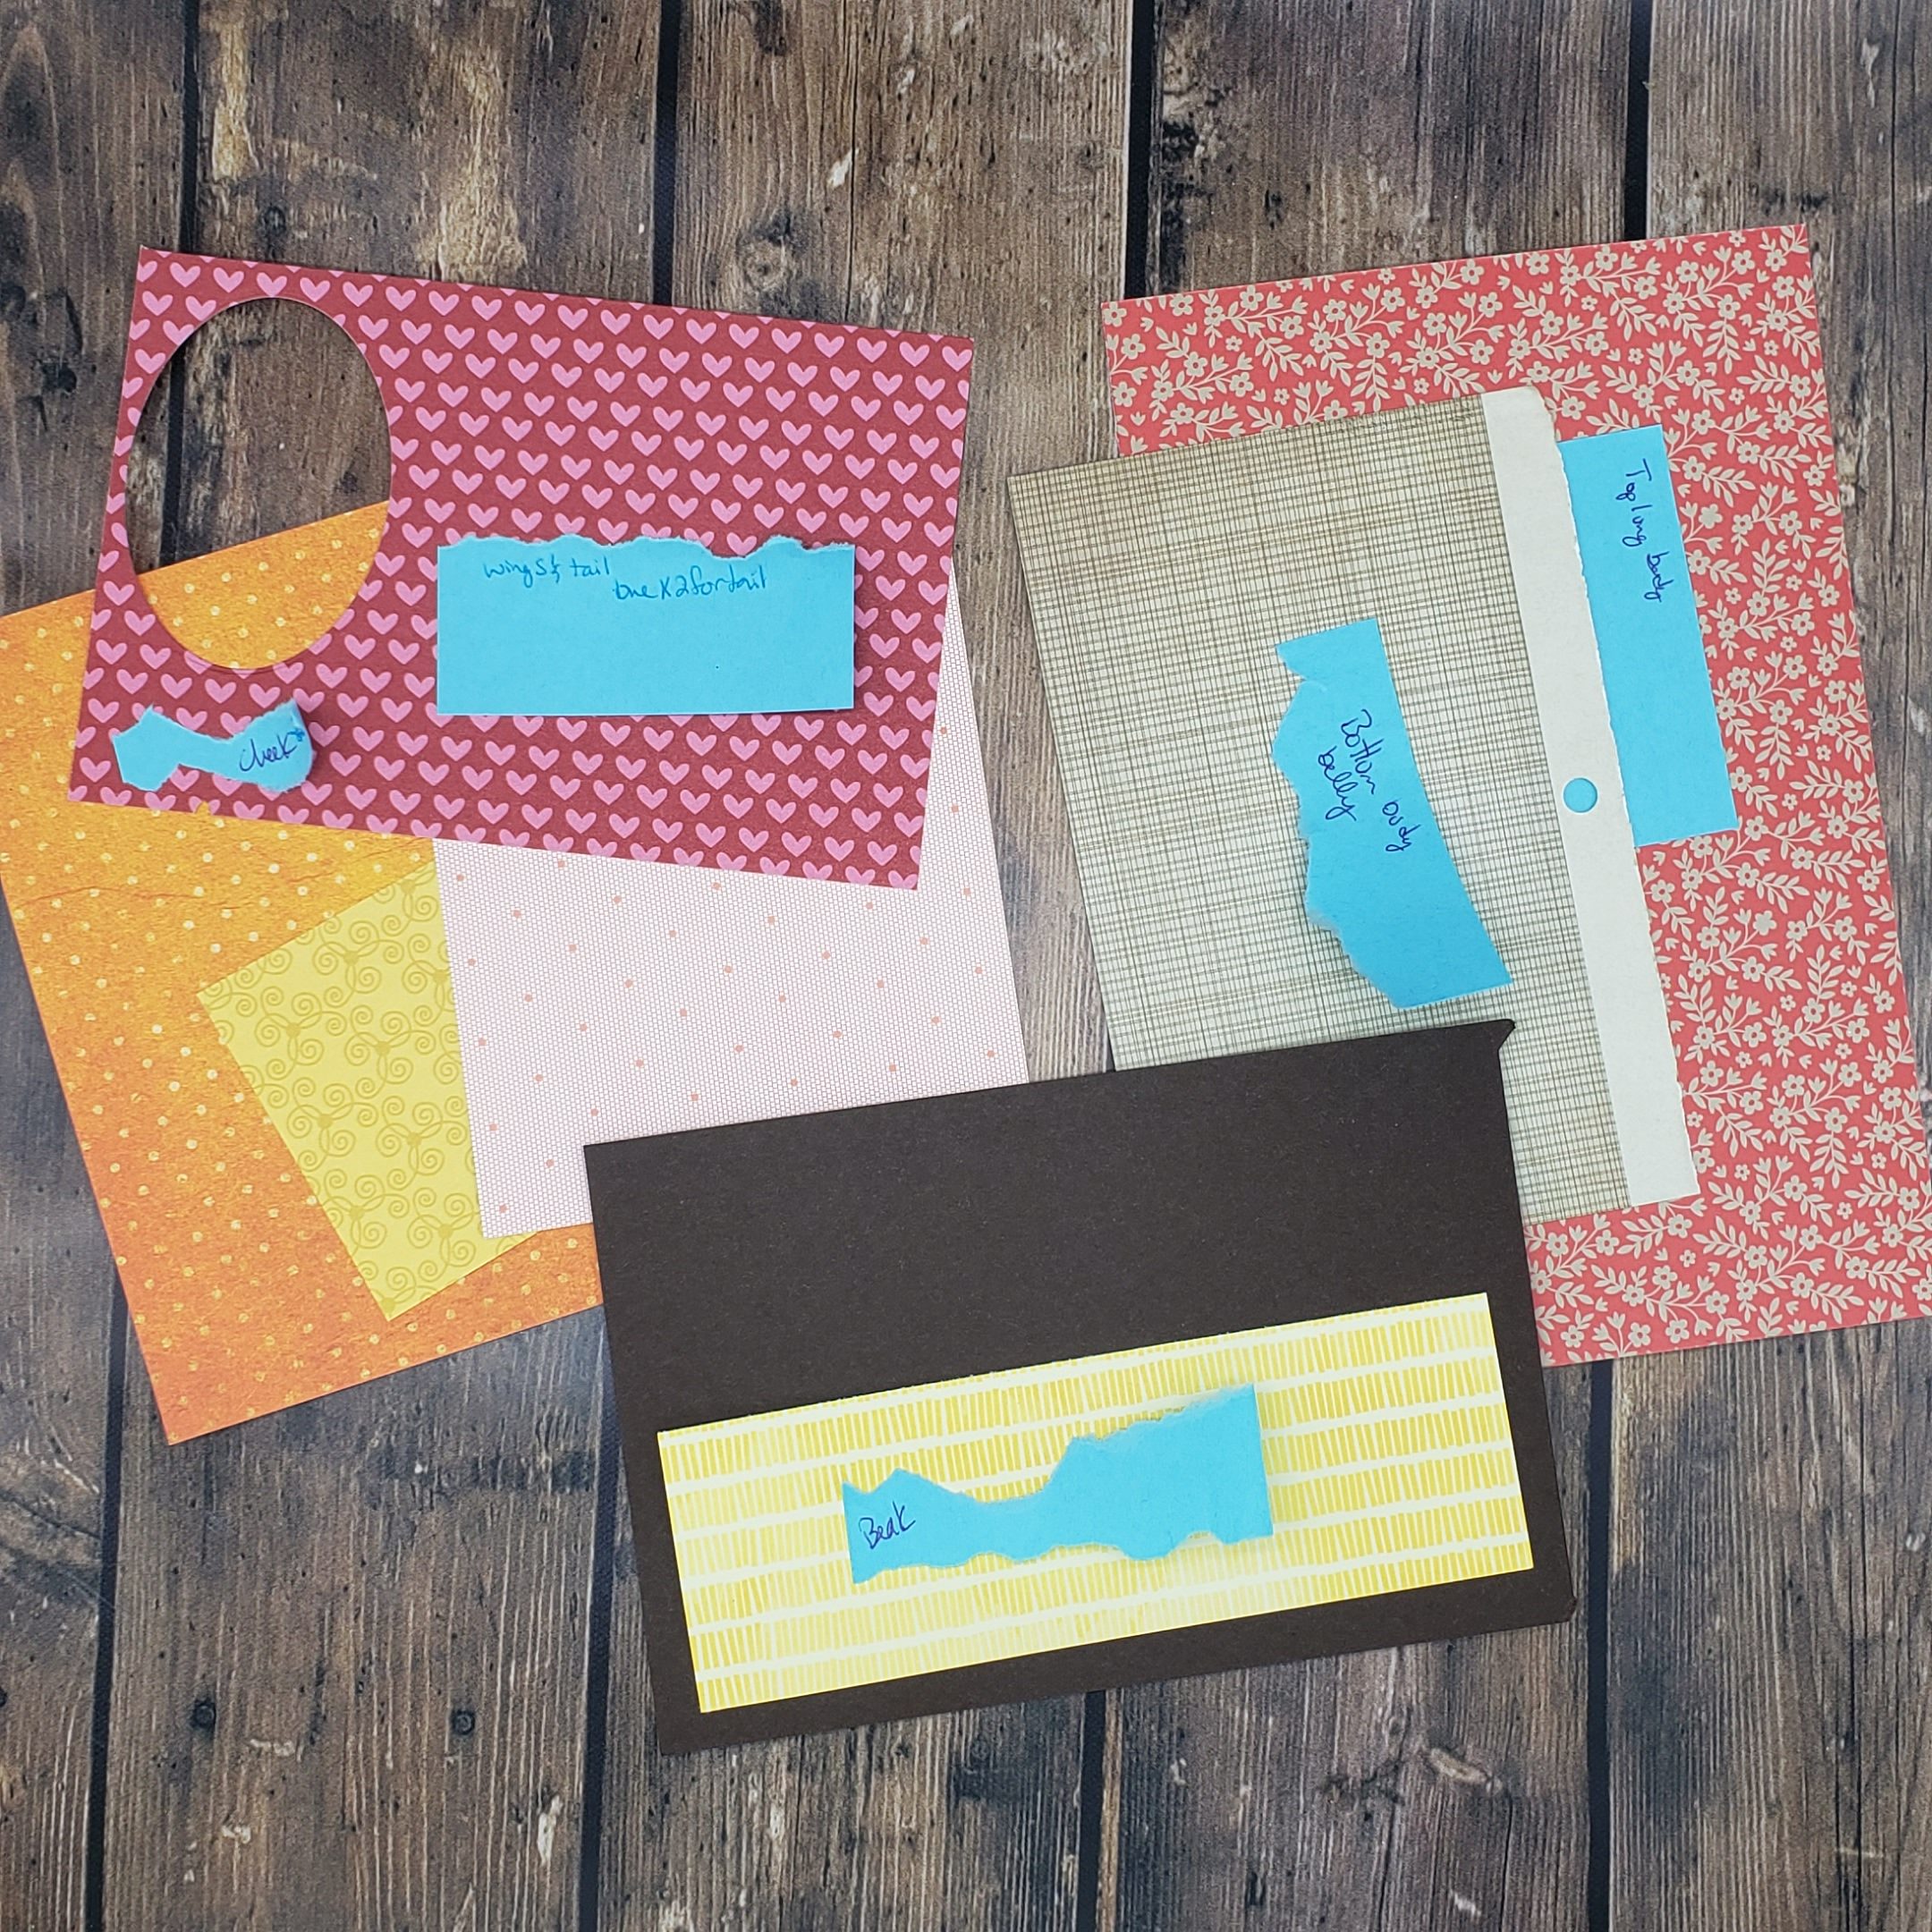
20200604_110241

After I was happy, I started to die cut. This set takes a lot of cutting. I ended up pulling my mini die cutter out after a bit so I didn't have to keep getting up and down. HA! I inevitably still ended up needing to do more cutting to have all the pieces necessary. 
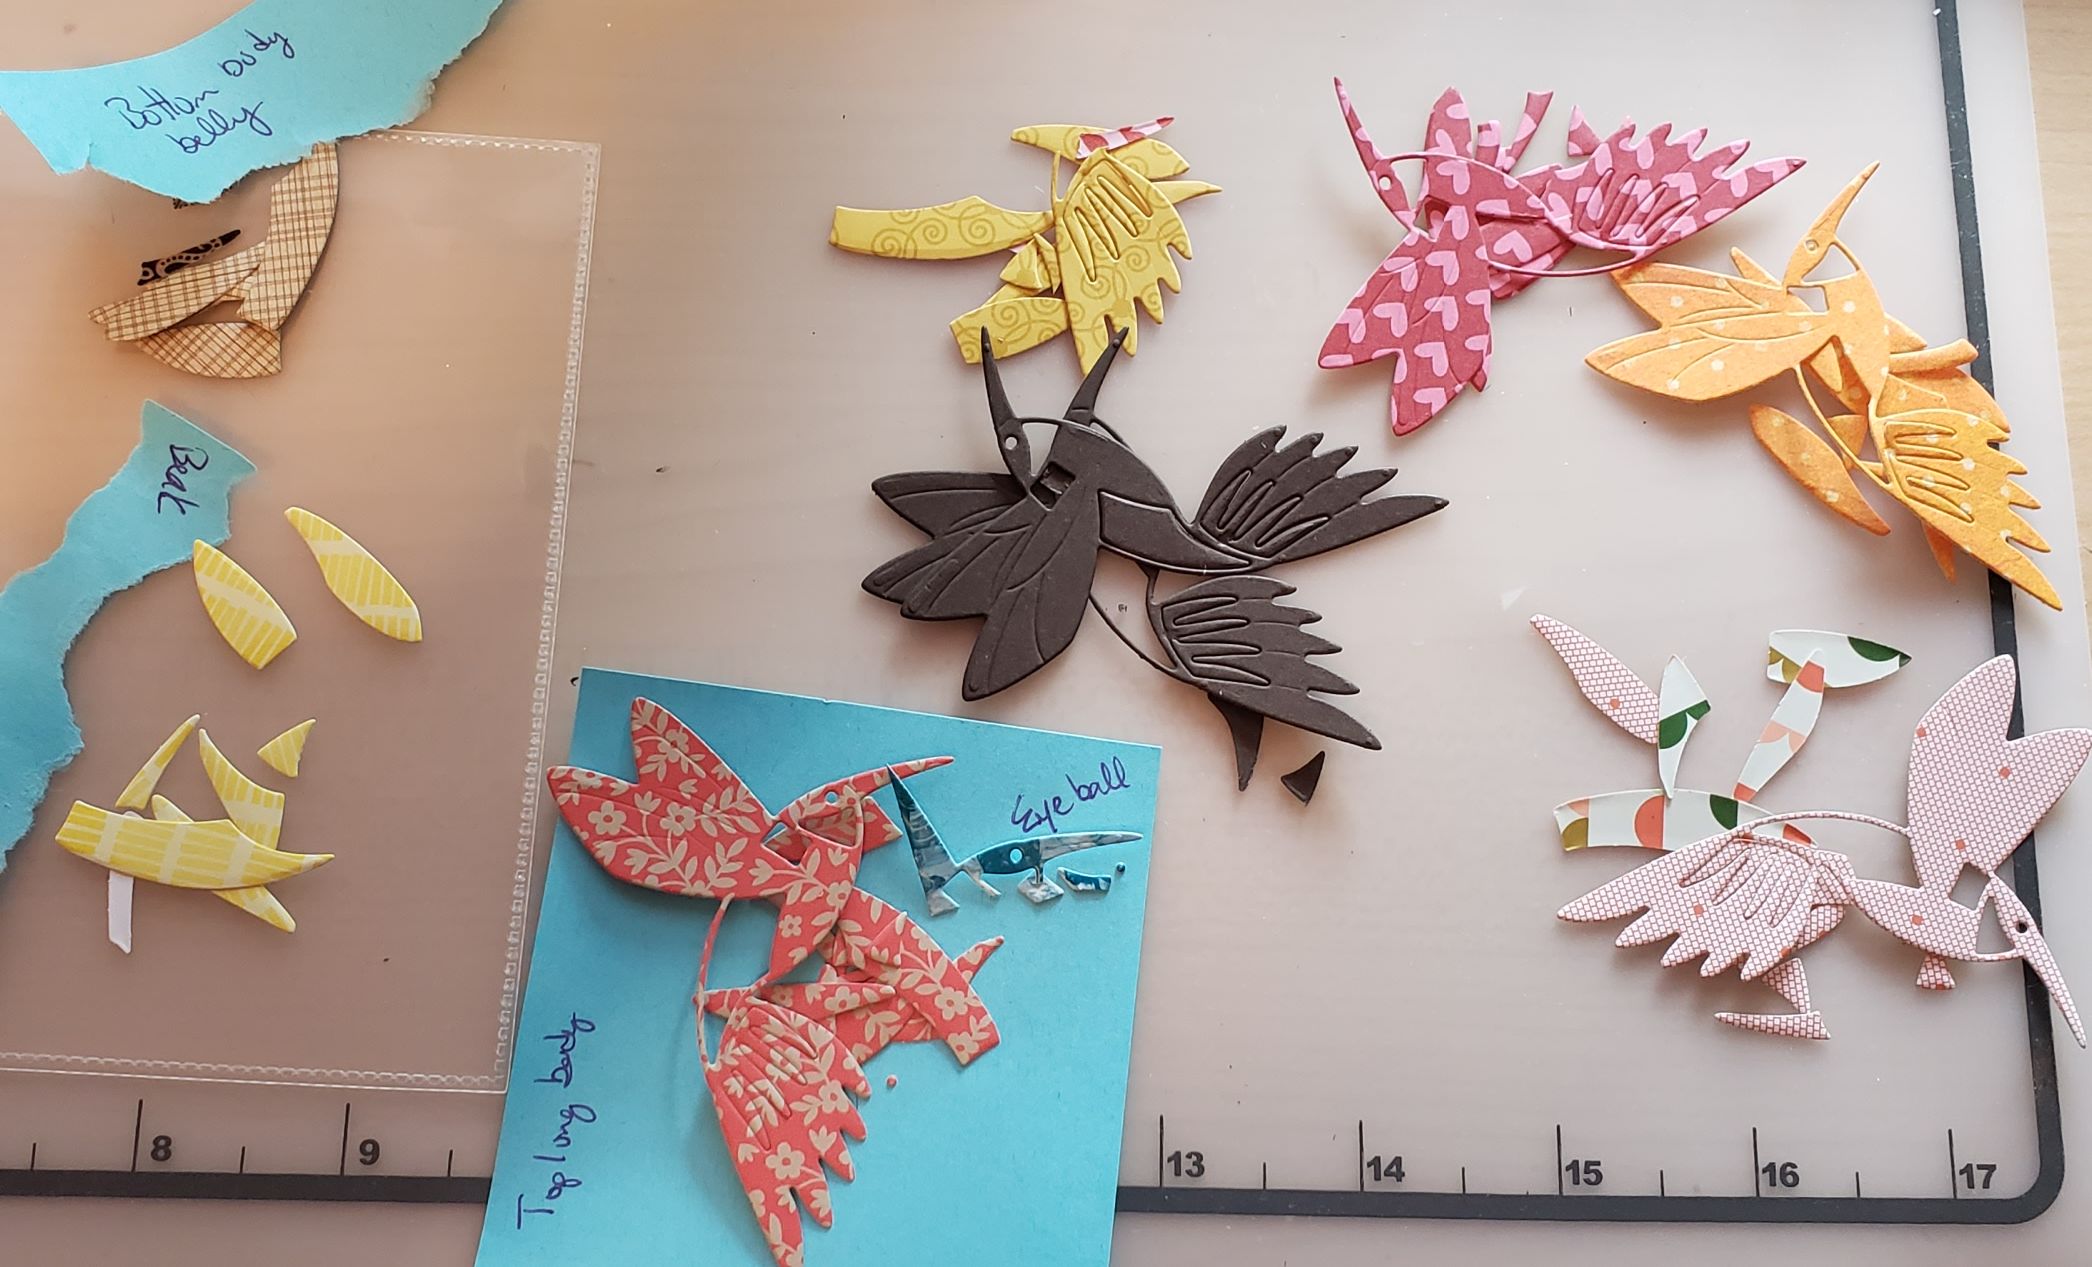
20200604_124134 (2020-06-06T19_24_11.634)

I followed the picture tutorial for Hummingbird Happiness because complex dies are NOT my forte. Starting with a wing, and building from there. I am not one for worrying about does this side match that side, because in nature, the same color may not be in the same place.  
received_3185441498143143 (2020-06-06T19_37_04.137)

Next, I die cut a million (ok, that's an exaggeration) little trumpet flowers and leaves out of more scrap paper. For the flowers, I focused on pinks and reds, using both patterned and glitter papers. For the leaves, I used more solid or stubble patterns. 

Then I built. I cut down a large piece of purple scrap paper that started as a scrapbook paper for the background, took my hummingbird and one of the flowers that I had used foam tape to have the front petal lifted and stuck his little nose INTO the flower. I layered the leaves and flowers to created kind of a garden or bush look with the flowers. 
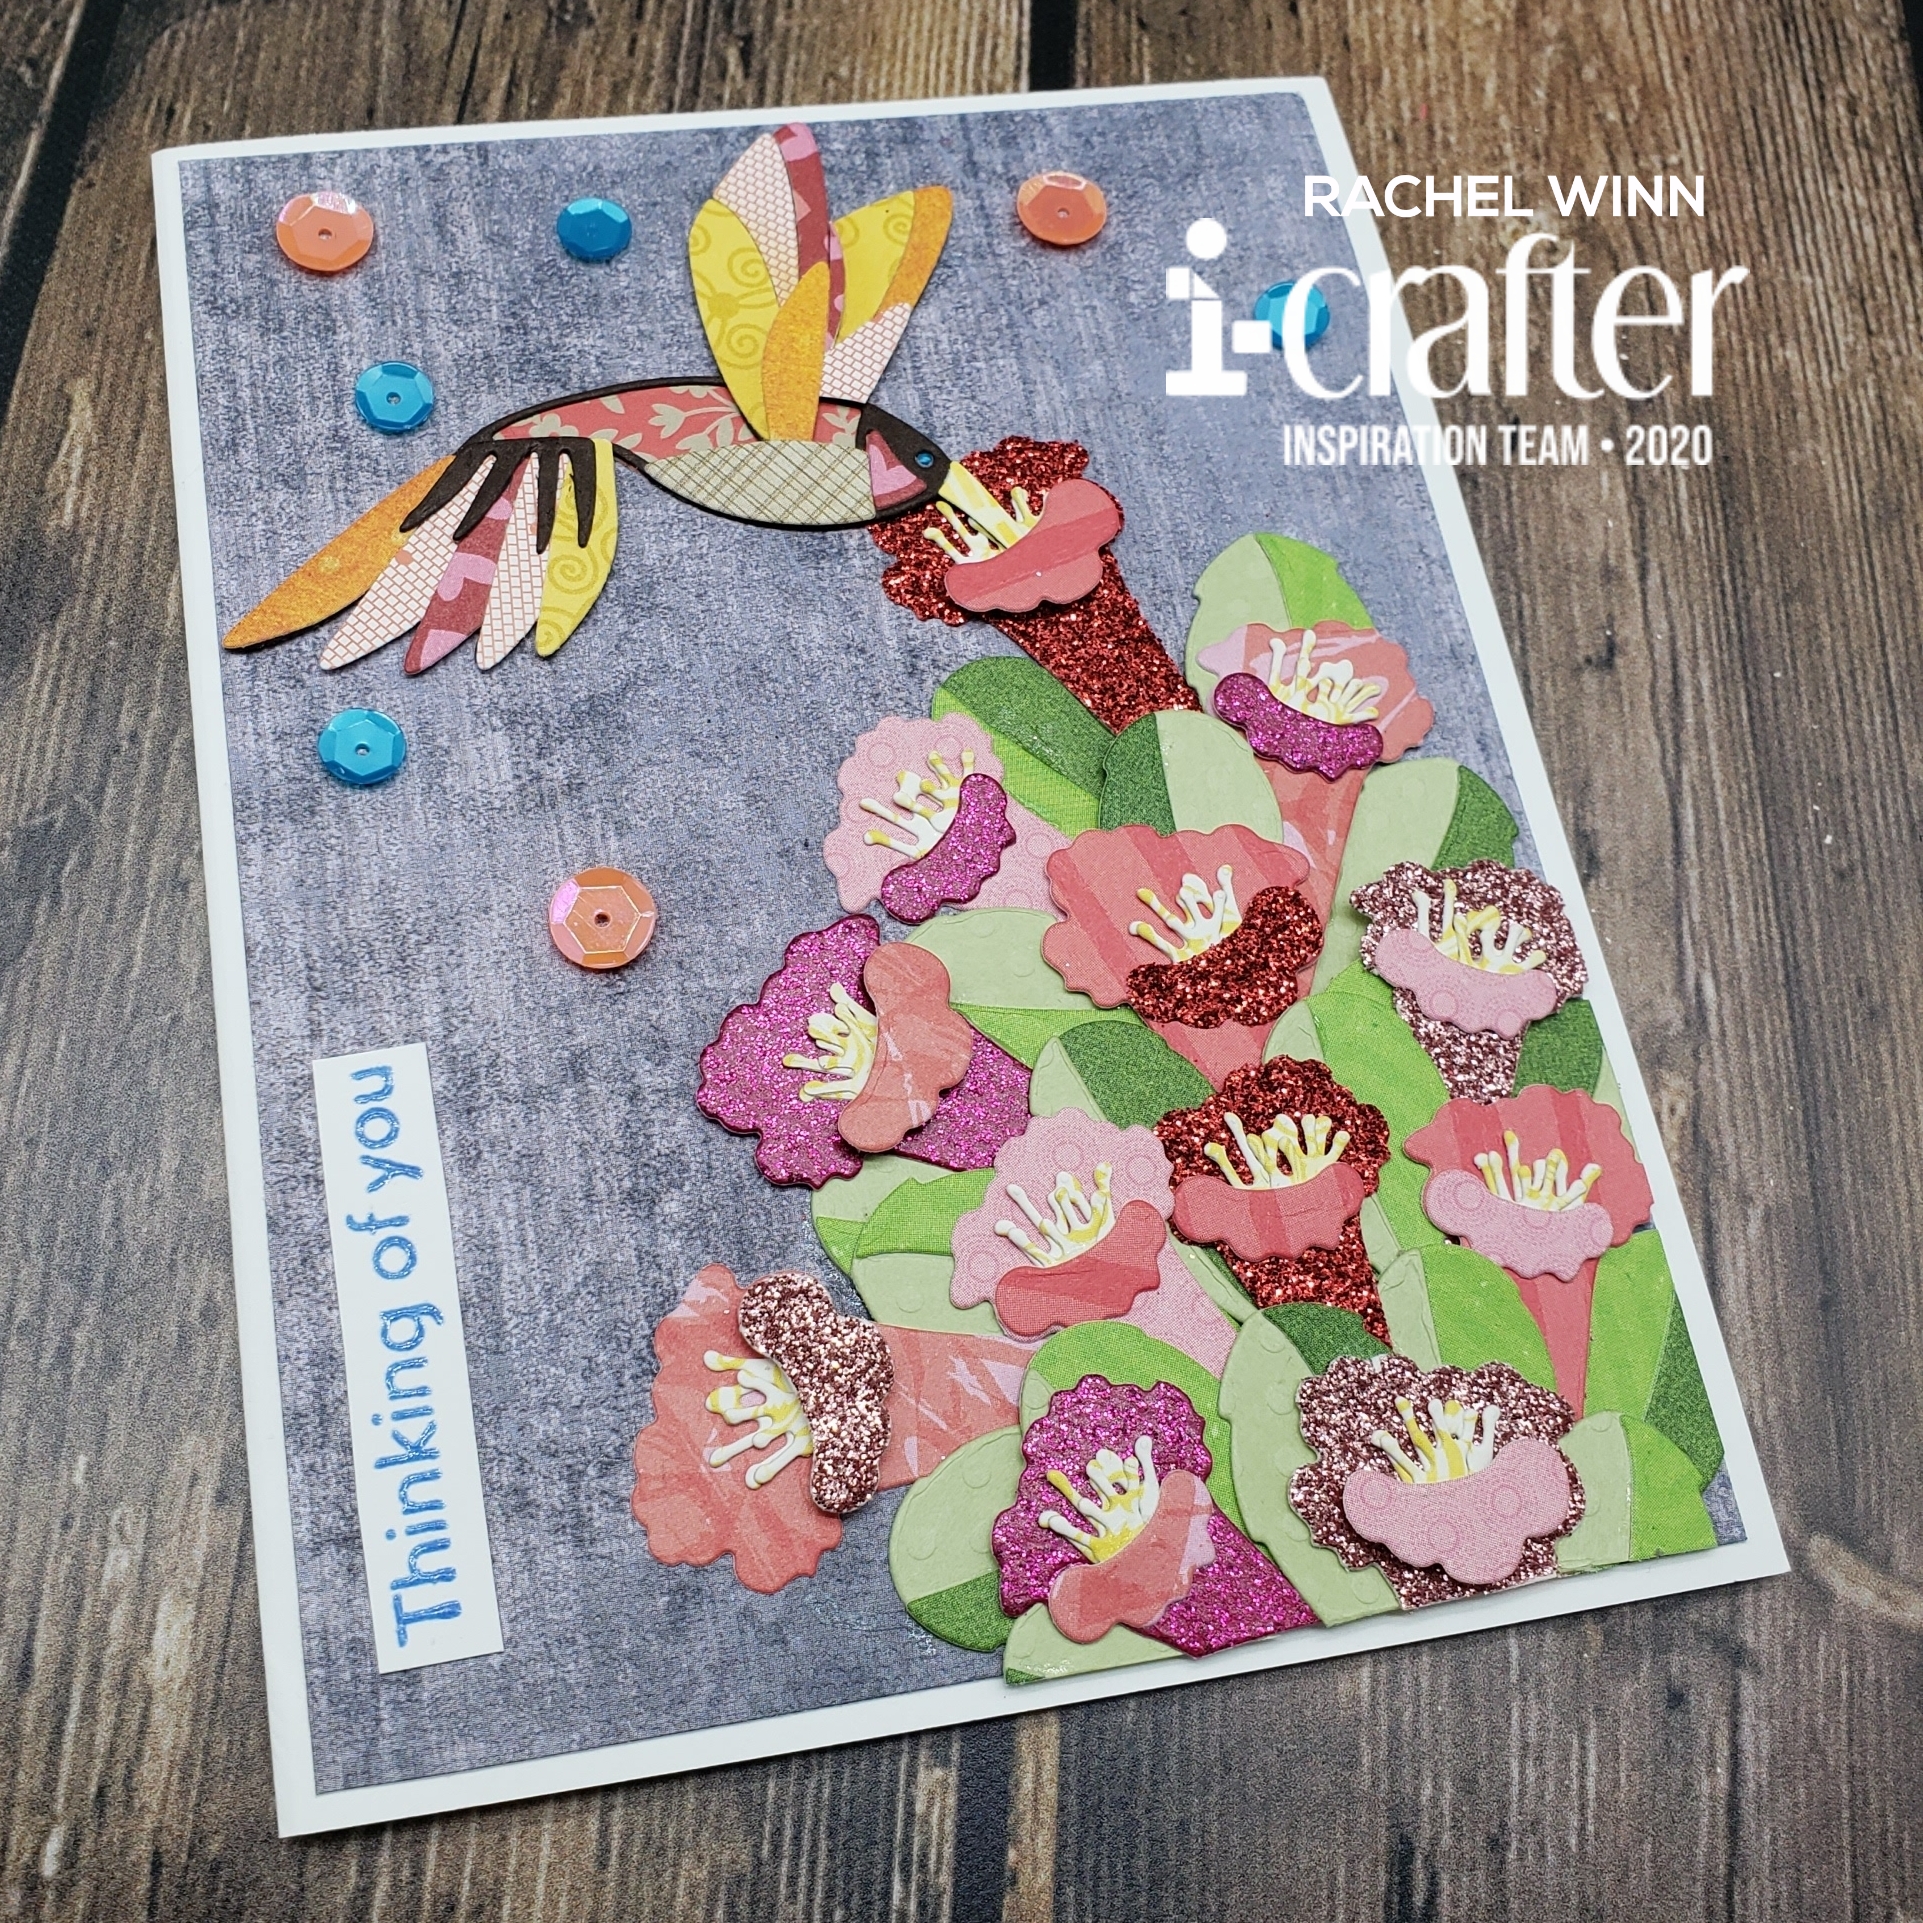
LogoLicious_20200606_102532

I kept my background handy and made sure that as I layered, the flowers stayed on the card base.  At the end, I trimmed just a few flowers and leaves on the bottom and right side that flowed over. I was ok with that since I didn't want it to look like the flowers just ended.
LogoLicious_20200606_102135

I stamped "Thinking of You" from the Scattered Thoughts Sentiment Stamps in Skysail Blue Hybrid ink using my Mini MISTI and heat embossed it using clear embossing powder. This was glued in the bottom left corner, then I added a few orange and blue sequins.  

I hope that this has given you some inspiration and that you will grab the Hummingbird Happiness dies, Scattered Thoughts Sentiment Stamps, and the Skysail Blue Hybrid Ink.  I can't wait to see what you make with them, come join our i-crafter Facebook Fan Club to show off your own scrap hummingbirds!

If you want to see more from me, my instagram is HERE, and my Facebook page is HERE!

You will get to see another project from me here on the i-crafter blog later this month!

~R. Winn 

Thursday, May 21, 2020

Blonde and Ambitious

Welcome back!

I am sharing two projects using the new Kindred Stamps stamp set, "Blonde and Ambitious." I love how sassy and smart this set is and just had to make a few things that really felt "RIGHT" for it. 

I started with a bookmark, I bought a big pack of plain white bookmarks on Amazon a while back, and used one as the base for this project. I used i-crafter's pink i-brush blending brush to dust Radiant Neon Electric Pink Ink around the edges of the bookmark. 

Next, I colored up my brilliant fashionista using Copic markers on X-Press It card stock. I fussy cut her out and set her aside. Next, I used scrap black and gray card stocks with Frantic Stamper's Stack of Books die and cut just the top book off of 3, the whole stack was a bit overwhelming for the bookmark. 


There are some really cute sentiments in the "Blonde and Ambition" set, but for the bookmark, I felt like "You're like really smart" was perfect for a bookmark though! I stamped that in i-crafter's Hushed Darkness Black ink using my Mini MISTI. I finished the project off by adding some fun pink ribbon to the top.

My next project, I wanted to do a gift card holder. I have a Sizzix Bigz die, and used it to cut out my base with some bold pink card stock, then a white inner piece for the gift card holder. 


Again, I stamped my expert shopper from "Blonde and Ambitious" out and colored her with Copic Markers, then fussy cut her. 

I used a Sweet Stamp Shop die to cut out a cityscape in gray, then a Sizzix die to cut out a film negative in black and layered these both over a white piece of cardstock. I tilted it and cut it down a bit, then glued it to the top of the box. 

I added the "Snaps to you!" sentiment from "Blonde and Ambitious" stamped on the same pink card stock as the box in a Circle die cut from The Stamp Doctor.


The last step for this gift card box, was stamping the sassy shopper from "Blonde and Ambitious" using Ink on 3's Fade Out ink for a second generation stamping look, and the "You're legally awesome" sentiment from "Blonde and Ambitious" in a bright pink Catherine Pooler ink.


"Blonde and Ambitious" and the entire Kindred Stamps May release will be available Friday, May 22 at 8am PST/11am EST. Be sure to subscribe to the Kindred Stamps blog to see a daily line up of sneak peeks from our amazing Design Team and see the full product release on Friday! Come join the Fan Club and release event to be part of the release fun, and you may just win some Kindred Stamps credit!!

I hope you enjoyed my projects, and will see you next time!
~R. Winn

Monday, May 4, 2020

Playful Pandas

 Hey there!

I played with some SUPER adorable pandas for this card! "Playful Pandas" is from i-crafter, for this set, there isn't a ton, if any coloring needed, which is weird for me! I just used a few Cool Gray Prismacolor Colored Pencils to add some shadows to this tumbly little guy then fussy cut him out.


This stamp set didn't have any sentiments, so I used the i-crafter Haley Alphabet stamps and i-crafter Fire Ruby hybrid ink in my MISTI to create my "Hey there" sentiment. I always heat set my i-crafter inks so they dry fully before I move to my next step.

My friend suggested that I make a spinner card, well, I went ahead and made a slider card so that you can spin this guy back and forth across the card.  I used a brown scrap piece of scrapbook paper for the base, then green scrapbook paper for the next layer. 


I glued my "Hey there" on after I knew where the panda would be rolling, then finished the card off with a few white enamel heart embellishments.

I hope you enjoyed this simple but fun card!

See you next time,
~R. Winn