Showing posts with label Floral. Show all posts

Thursday, October 14, 2021

Thinking of You With Chrysanthemums

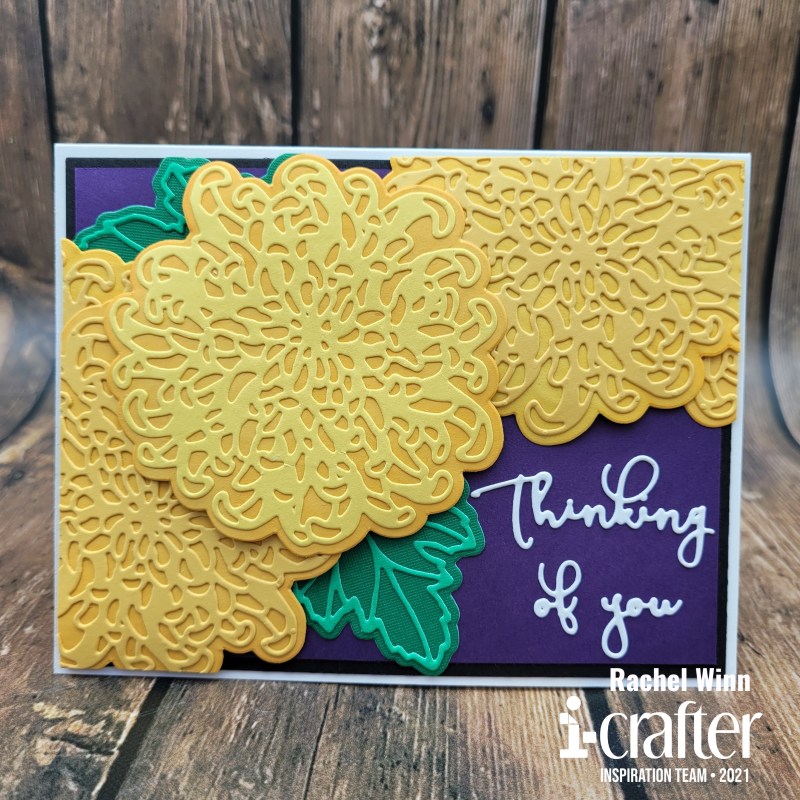
Hi all! I have a beautiful card to share with you today! I used the new i-crafter Chrysanthemum Blossom die set for a multi-purpose "Thinking of you" card.

I started by cutting out 3 flowers and 3 backers using 2 shades of yellow cardstock, 1 of each from a light yellow, 2 of each from a darker, warm yellow. Next I used my i-brush Blender Brushes to add a light coat of Mango Madness Hybrid Ink to the backers to create a two tone effect to the flowers once they were layered together. I used a fine tip, liquid glue to adhere the flowers to the backers.
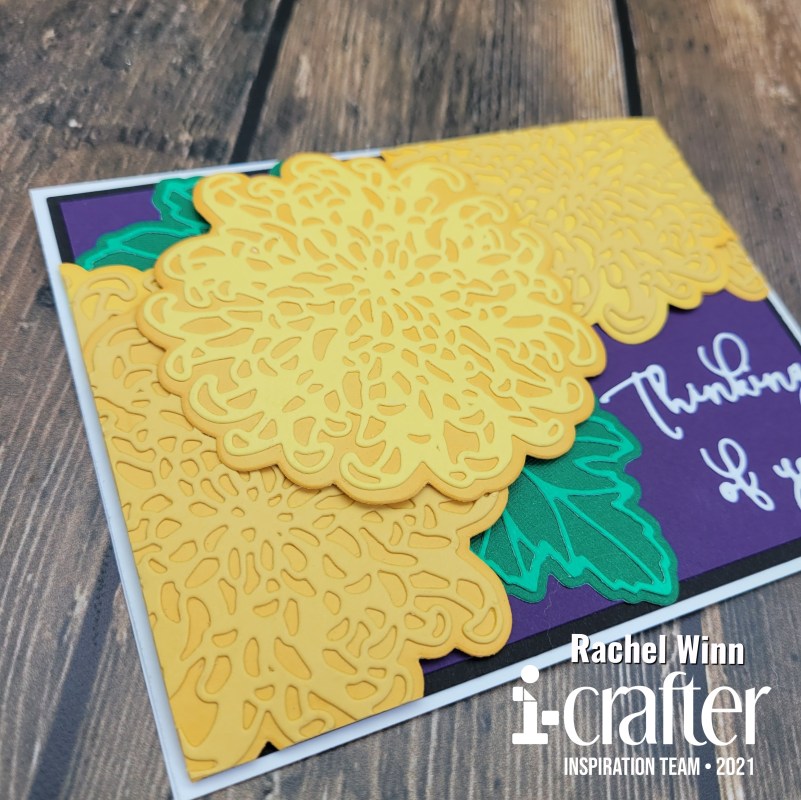
Once they were glued together, I used the round end of the i-Press Burnisher and Pad to create some depth and curve in the Chrysanthemum Blossom flowers. Next, I layered purple cardstock over black to create the card front. I placed the first two Chrysanthemum Blossom flowers on the corners where I wanted them using foam adhesive, this gave extra dimension and allowed the curves I had created to have room to fall down to the card front. I placed the Chrysanthemum Blossom flowers hanging slightly off card front then I used my guillotine trimmer to cut the extra off parts of the flowers that were past the edges of the black cardstock.
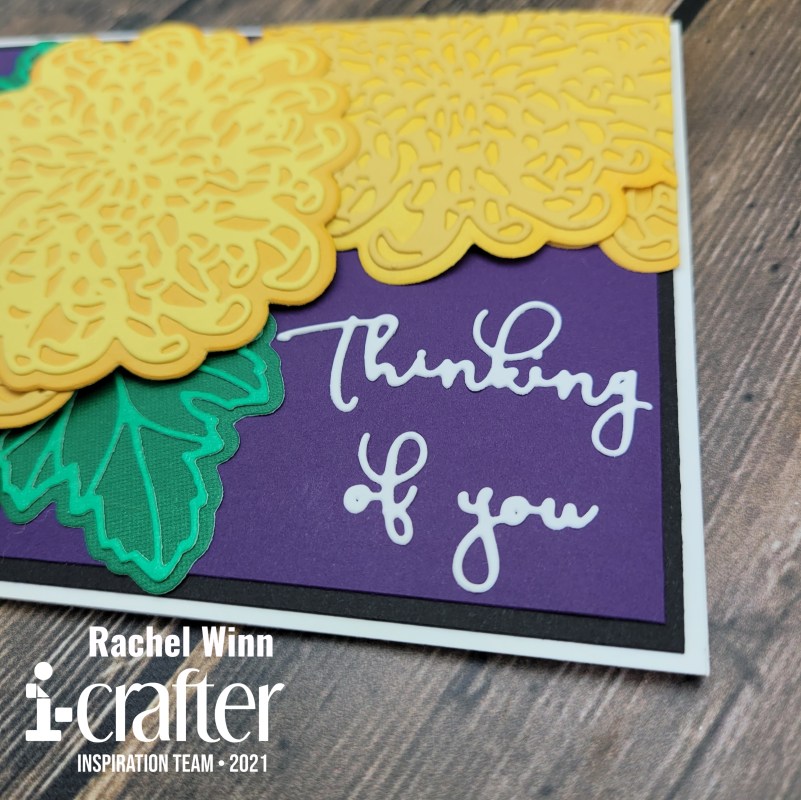
Once the first two Chrysanthemum Blossom flowers were in place, I added the third to the top, between them again using foam adhesive. Next, I tucked my Chrysanthemum Blossom leaves in beneath the Chrysanthemum Blossom flowers. I only cut out 2 Chrysanthemum Blossom leaves, I chose to go with a lighter green for the outline vines and a darker for the body. Next, I took a few of the pieces of the Chrysanthemum Blossom flowers that had been trimmed off and added them back in strategic positions under the 3 flowers to fill out the Chrysanthemum Blossom flowers. I glued them using liquid adhesive, laying flat beneath the other flowers added more depth to the card.
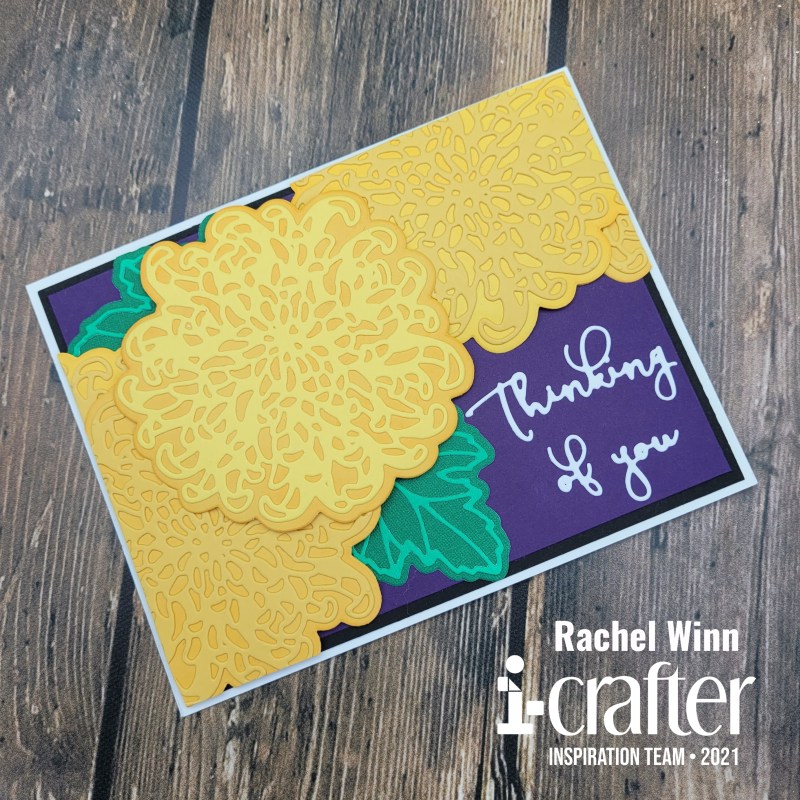
Finally, I cut out the beautiful "thinking of you" that is in the Chrysanthemum Blossom die set from white cardstock and glued it in the open space that I had left for it and added the card front to a solid white card base. I love that this could be a "Just Because" card, or is thoughtful enough to use for a "Get Well" or "Sympathy" card too. These types of cards typically are difficult for me but this took me very little time and I enjoyed the process a lot!

I hope that you’ve enjoyed my project! If you’d like to see more of my projects, you can follow me here: blogInstagram, and Facebook page.
 
Until next time,
Rachel
 
For more inspiration, updates, and news make sure to check out these awesome places!
 
 
Thank you so much for stopping by today!

Sunday, August 1, 2021

i-crafter August Release

It's release times for i-crafter! I played with the new Mason Jar Box Card by Lori Whitlock dies and had so much fun doing it. You know my love for using up scraps right? Well all of this card was cut from my scrap stash. 

I started my jar using a light blue cardsock. The front panel of the jar I shaded with Copic markers and stamped the "Thank you" sentiment from i-crafter's Thankful Sentiments stamp set in the center. I left the back panel blank without shading so that it can be used to write a message on.

I tried to use some Cool Gray Copics on the lid but it didn't work out as well since the surface is so reflective. Once the lids were glued to the front and back pieces, I used twine to add a little bit of a rustic feel to the card. To do this, I added glued the back of panel and wrapped it a few times. The front piece, I tied a simple knot on the front, the back panel I tied it in the back so it appears to be wrapped around both pieces without a break. Next, I added two side panels and two bridge or center pieces that I cut out in that same light blue to keep that jar look intact.


For the flowers, I cut out all of the flower dies from each the set from several colors. I really love the look of the biggest flower with two petal layers. I added Copic shading to the center of the three largest petal sizes. I probably added a few more flowers than were needed... but I was having SO much fun!


After shading the larger flowers, I used the i-Press Burnisher and Pad to create some real dimension for the flowers. Here is a short tutorial showing what I did:


I also used the added some color depth with Copics then used the i-Press on the long leafy pieces of greenery. This gave them a slightly curled look. I burnished the front of one stem and the back of the other stem, I loved the way they looked when I finished.


Ok, because I'm obsessed with the end results, you get a ton of photos from all angles!


The back is just as pretty as the front!


The neat thing about this style of card is that it can be folded flat (I would have needed to burnish my sides a little more for it to stay on its own.) Had I not added flowers quite so far to the side, I could have slide it into an A2 envelope easily, but I think this one may need a 5.5"x5.5" envelope instead!


I hope that you have enjoyed my project for today and can't wait to see how you use the Mason Jar Box Card by Lori Whitlock die set in the future!

Until next time, 
R. Winn

For more inspiration, updates, and news make sure to check out these awesome places!


Thank you so much for stopping by today!

Friday, January 1, 2021

i-crafter Kokeshi Dress Up Scrapbook Page

I am so excited to to join the i-crafter Inspiration Team! 

Today, we are releasing a whole new line of Japan inspired products. This line up is gorgeous and SO much fun to create with! I am showing off a scrapbook page that I made for my sister-in-law using the new i-crafter Kokeshi Dress Up Dolls.  Her sister and nieces live in Japan, and these little dolls were perfect to use on a page to remind her of them.


First, I cut the pieces of the dolls' body and hair from plain Copic paper and then used Copic markers to color them up. For the skin, I used E21, E11, E13, E15, & E04 with R22 for the blush. I used E27, E77, E47, E37, & E57 for the hair. 


I used mostly papers from HAI Direct and a few scraps for the doll clothes and added shadows to them using Copic Gray W01, W0, & W00. I added foam tape behind the draped part of the sleeves to add some dimension. On the red paper, it is harder to see the shadows, but on the white paper, it shows up more!


I backed the girls with some pretty, sparkly blue paper and hand cut a trim around them. I used a purple cardstock to back the photos of the girls. 

 I used pieces from the i-crafter Mini Album, Accordion die set to create a little notebook page with the same purple cardstock that I had backed the photos of the girls with. Next, I took the i-crafter Alphabet, Carly dies and spelled out "Auntie Charissa's Little Girls" in a shiny, holographic cardstock. I backed the notebook page with a piece of thin foam to give it some dimension.


My final touch was a trio of Cherry Blossoms from the i-crafter Cherry Blossom Bursts dies to add some delicate embellishments to the page. 

I absolutely love the Japan inspired products in the January i-crafter release. Lynda used her heritage and family history to bring us such beautiful things to create with. Be on the look out for more creations from me using them later this month!

You can shop all the new arrivals here! Be sure to join the i-crafter Facebook Fan Club, then follow us on Instagram, and Pinterest too! We love to see your creations using the i-crafter products.

Until next time,

R. Winn