Showing posts with label Autumn. Show all posts

Sunday, October 31, 2021

Halloween Wreath with the i-crafter Folded Maple Leaf

 Happy Halloween Witches and Warlocks!

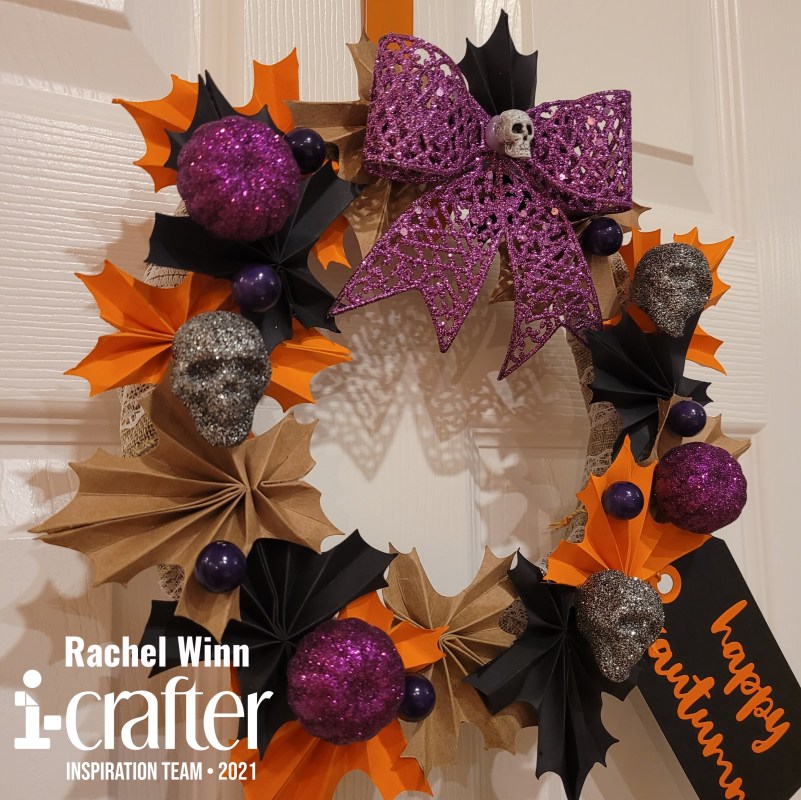
I am so excited to show you the Halloween Wreath that I created using i-crafter's Folded Maple Leaf die set and Tags and Labels die set! My best friend, Molly, and I made this project together, she helped save me time and energy by folding and burnishing the leaves using the i-Press while I die cut them, glued them, and then adhered them to my wreath frame. I used a solid black cardstock, kraft cardstock, and orange cardstock for the Folded Maple Leaves, I cut out at least 5 of each color. 
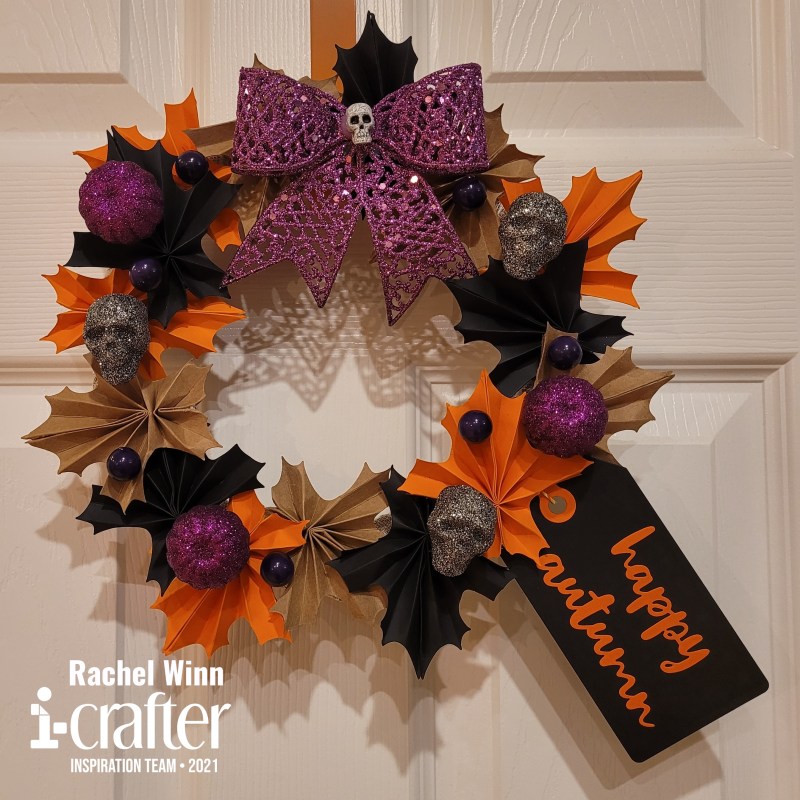
 

When gluing the leaves, I used a small clothes pin embellishment and a binder clip to keep the sides together while the glue dried, normally I use my i-Grip tweezers to do this job, but I had forgotten them at home when I left to visit for Molly and Evan's birthdays! 
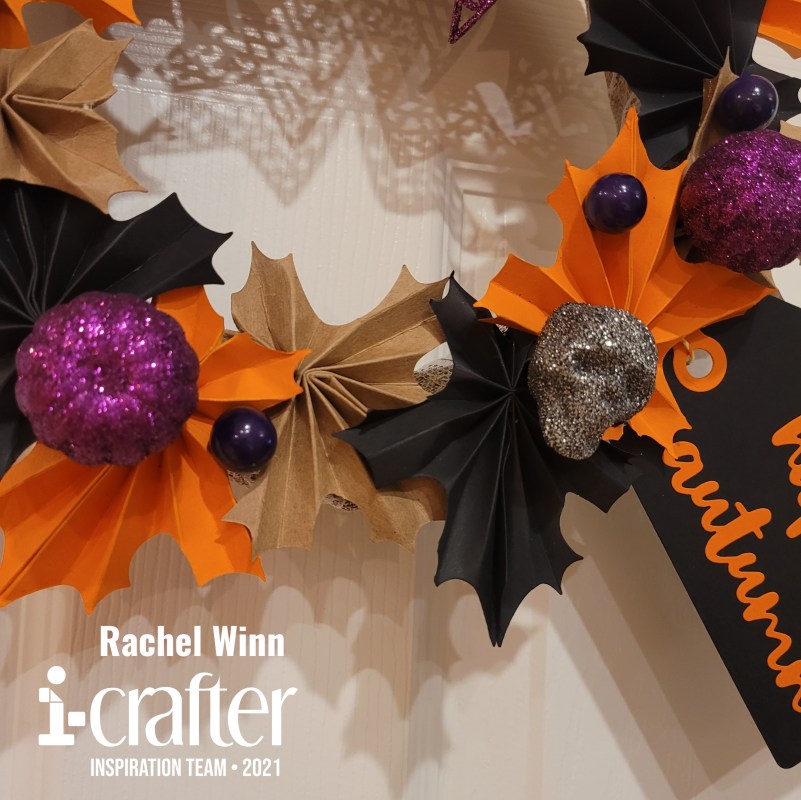
Once I had several leaves glued together, I started to build my wreath, I used a frame from the Dollar Tree wrapped in a burlap and lace ribbon from the Dollar Tree as well. I wanted a solid base that if there were any gaps didn't look funky, no random chunks of green spoiling my project! Next, I used hot glue and glued down my leaves. I wanted to turn them every which way and overlap them as I went.
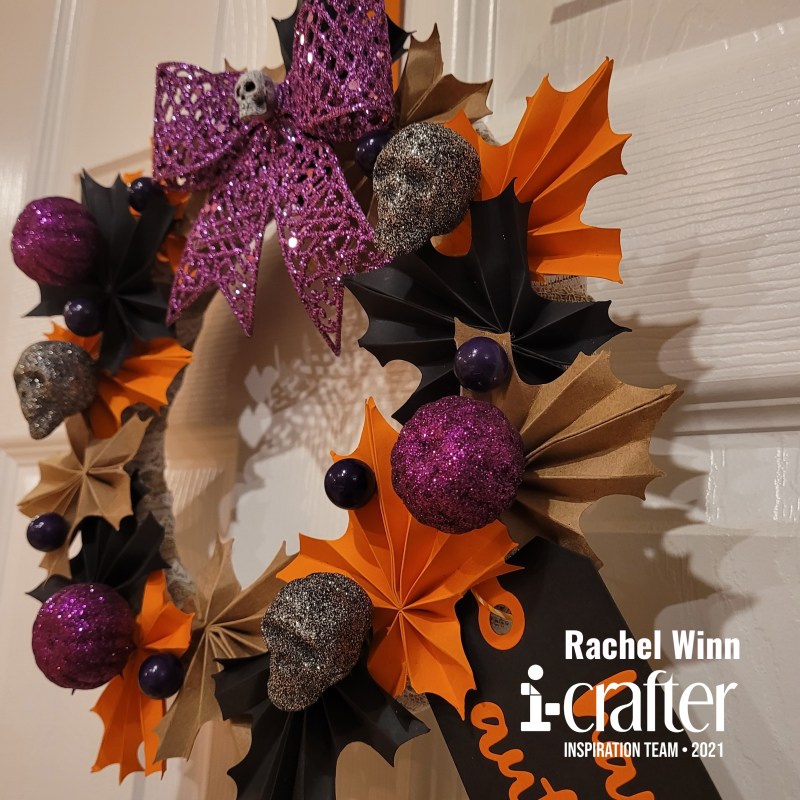
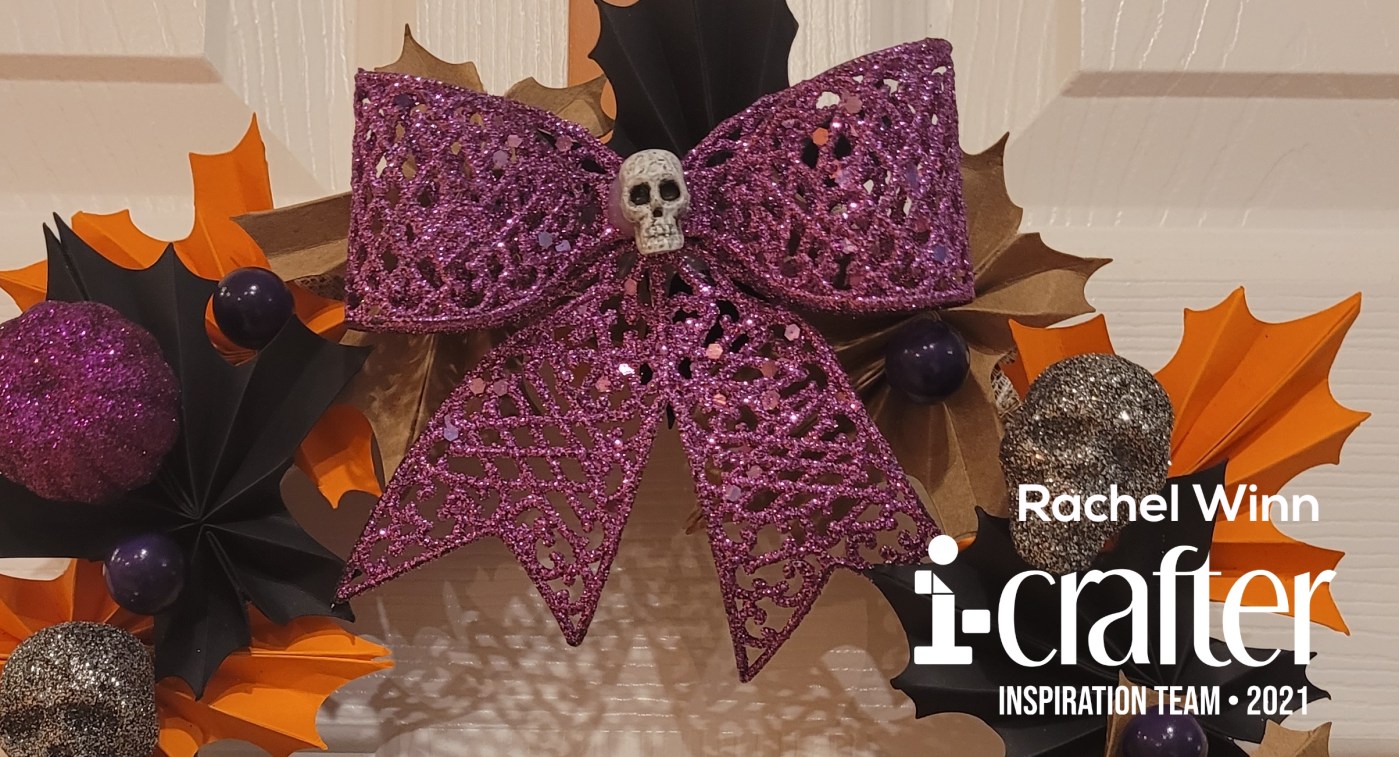
After the leaves were all in place, I began adding the embellishments that I had picked up at the Dollar Tree. I started with a purple ribbon with a skull in the center at the top of the wreath. Then I used purple pumpkins, silver skulls, and purple berries mixed all over the wreath.
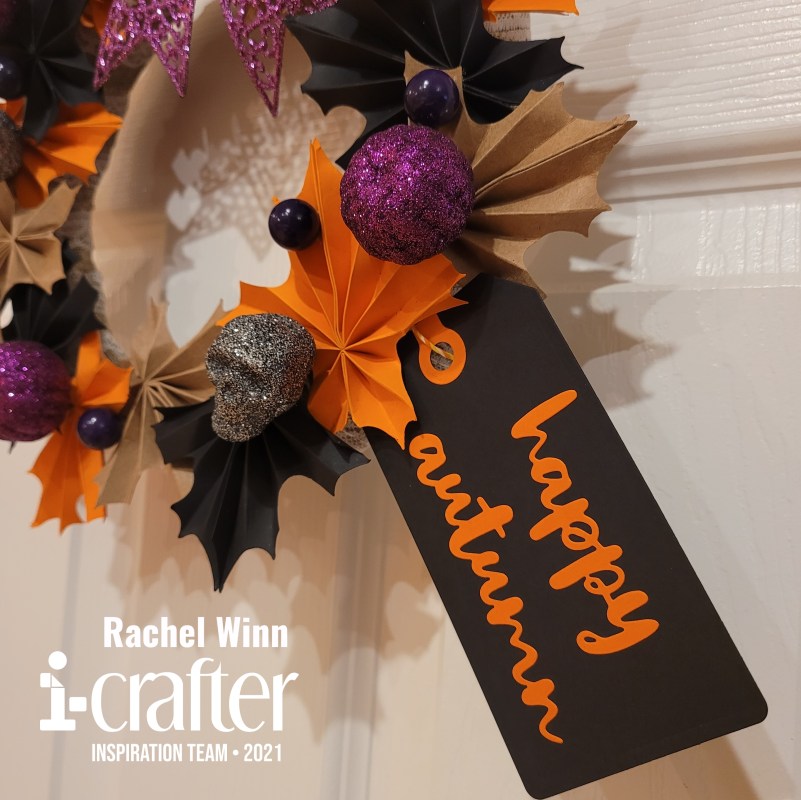
My last piece was to add a "Happy Autumn" tag! The Folded Maple Leaf die set has a beautiful cursive "Happy Autumn" that I though would look so nicely added to the wreath. I thought about putting it on a wooden tag or sign of some sort, then realized that the Tags and Labels die set would be the perfect addition to this project. So, I cut the largest tag out of black cardstock, and cut out the hole reinforcers and the sentiment out of the same orange as the leaves. I used orange and yellow twine to tie it onto the wreath form.
This project was so simple and it was so much fun to make with Molly! It could be done for any holiday or just for fun. I hope that you enjoyed my take on i-crafter's Folded Maple Leaf die set and Tags and Labels die set

If you’d like to see more of my projects, you can follow me here: Instagram, and Facebook page.
 
Until next time,
Rachel
 
For more inspiration, updates, and news make sure to check out these awesome places!
 
 
Thank you so much for stopping by today!

Saturday, September 12, 2020

Pear Blossom Press & Pink & Main Collaboration


Today's card is part of a collaboration with Pear Blossom Press and Pink & Main! I am superrrrrr excited to share my card!

I started by stamping out the mugs on Pink & Main's Need to Venti stamp set and cutting them out with the matching die set. I stamped with Ink On 3 Black Out ink and colored with Copic markers.


Next, I used the Pink & Main Leafy Slim Line Die with a Sparkle Sheet in Construction, I backed this with vellum. I also cut the Leafy Slim Line die out with a deep blue card stock, I filled in the exterior pieces surrounding the leaves with these.


After that, I worked on getting the "guts" built. I started by laying out the EZ-Lights, I back them and the Power Pack base with Glue Dots. In order to keep the wires from showing through the vellum, I used a black washi tape to mute the colors and secure the wires, of course! 


I used the Double Thick Foam Tape that Pear Blossom Press carries (life changing!) to back the card, normally I use it as is, but because the lines of this die are SO thin, I cut it down into super skinny strips. In order to kinda trap the light in the areas I wanted them, I also enclosed each area so that no light escaped.


Next, I stamped the little leaves from Need to Venti out in a dark yellow ink, on a lighter yellow cardstock and die but them. I also stamped out the sentiment "Thanks a latte" (so cute!) on The Stamp Doctor's Tag #1 Stitched Dies in a brown ink. I stamped out "Push Here" from a Lawn Fawn stamp set on the yellow cardstock and used one of the small leaf dies to cut it out too!


Tada! I'm obsessed!


Lit up with the lights on!


Lit up with the lights off!


I move the card part way through the video so I apologize!

Thank you for hopping along with us for the Pink and Main & Pear Blossom Press Collab Hop! For more inspiration, check out all of the stops in the hop!

Rachel Winn (You are here!)

~R. Winn