Sunday, October 31, 2021

Halloween Wreath with the i-crafter Folded Maple Leaf

 Happy Halloween Witches and Warlocks!

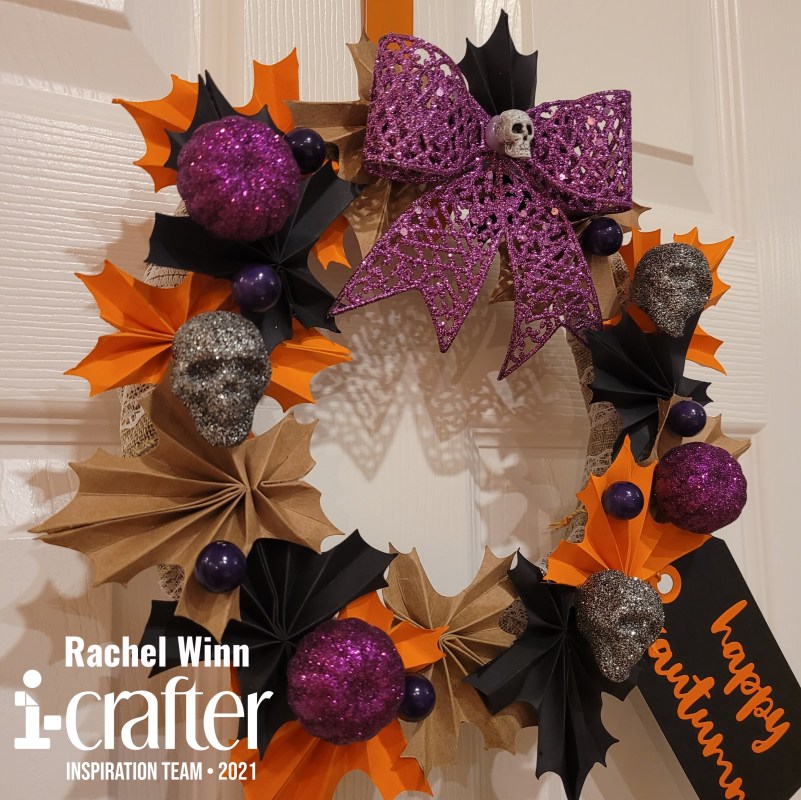
I am so excited to show you the Halloween Wreath that I created using i-crafter's Folded Maple Leaf die set and Tags and Labels die set! My best friend, Molly, and I made this project together, she helped save me time and energy by folding and burnishing the leaves using the i-Press while I die cut them, glued them, and then adhered them to my wreath frame. I used a solid black cardstock, kraft cardstock, and orange cardstock for the Folded Maple Leaves, I cut out at least 5 of each color. 
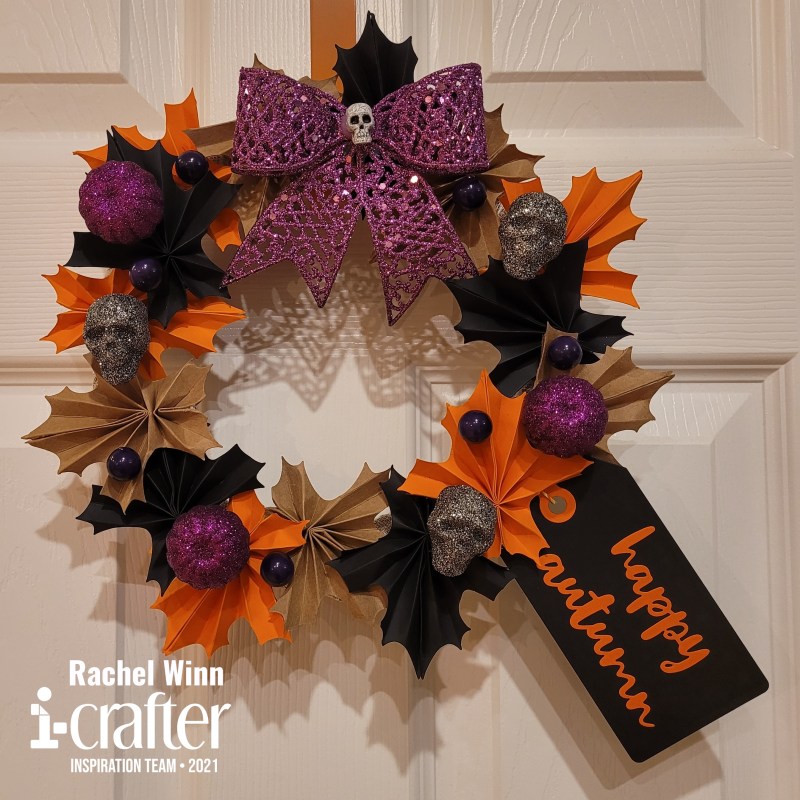
 

When gluing the leaves, I used a small clothes pin embellishment and a binder clip to keep the sides together while the glue dried, normally I use my i-Grip tweezers to do this job, but I had forgotten them at home when I left to visit for Molly and Evan's birthdays! 
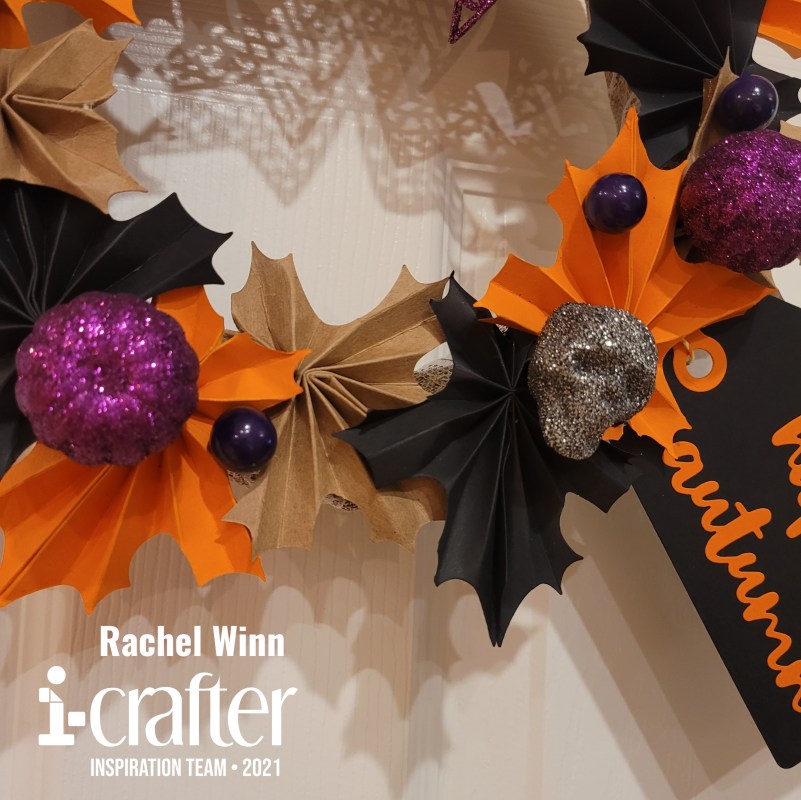
Once I had several leaves glued together, I started to build my wreath, I used a frame from the Dollar Tree wrapped in a burlap and lace ribbon from the Dollar Tree as well. I wanted a solid base that if there were any gaps didn't look funky, no random chunks of green spoiling my project! Next, I used hot glue and glued down my leaves. I wanted to turn them every which way and overlap them as I went.
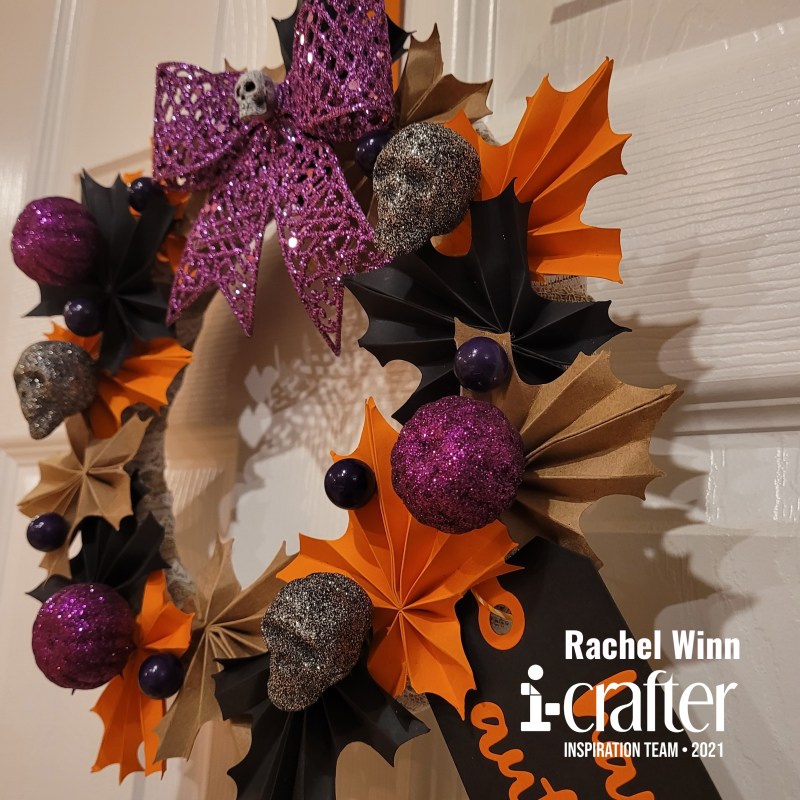
After the leaves were all in place, I began adding the embellishments that I had picked up at the Dollar Tree. I started with a purple ribbon with a skull in the center at the top of the wreath. Then I used purple pumpkins, silver skulls, and purple berries mixed all over the wreath.
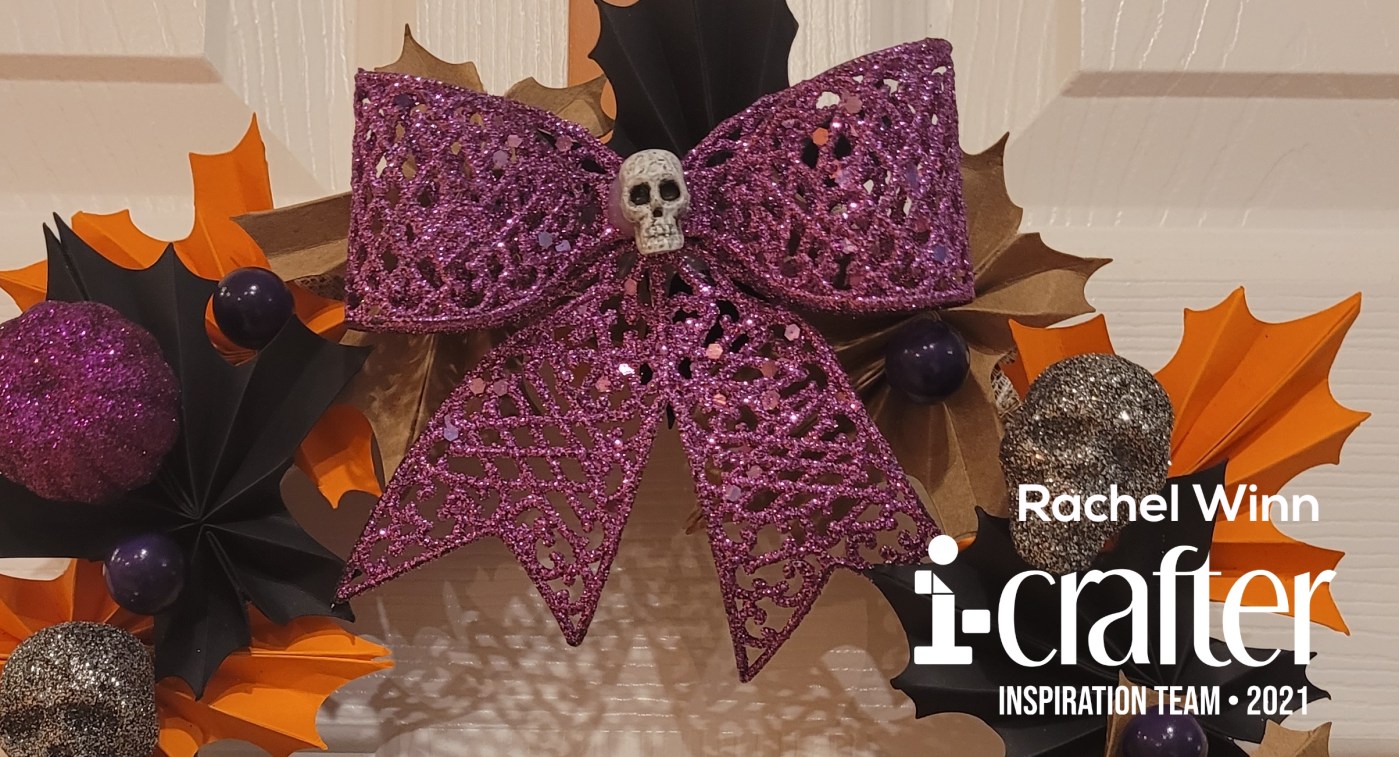
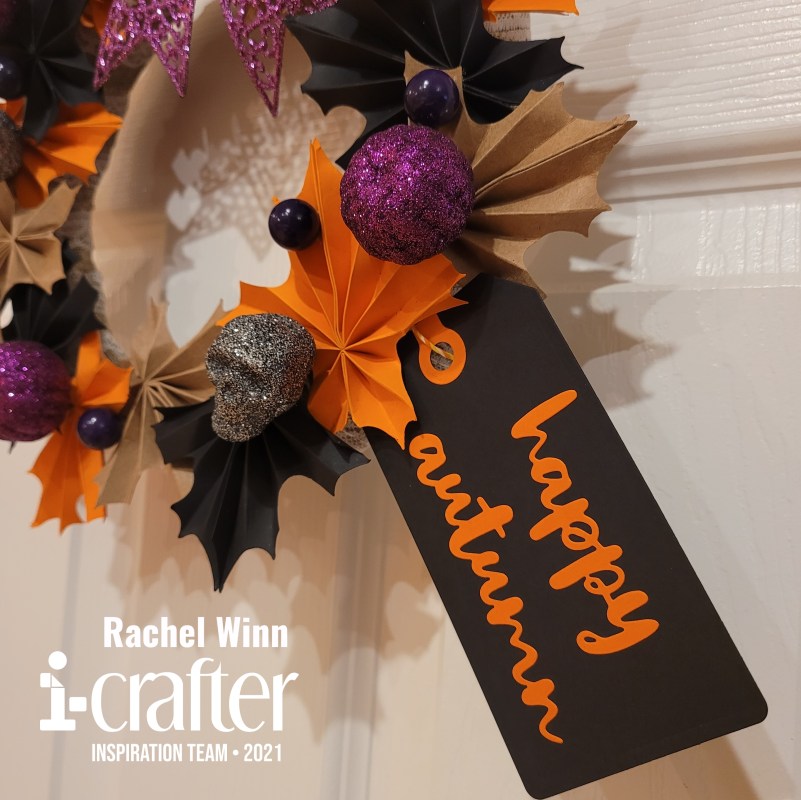
My last piece was to add a "Happy Autumn" tag! The Folded Maple Leaf die set has a beautiful cursive "Happy Autumn" that I though would look so nicely added to the wreath. I thought about putting it on a wooden tag or sign of some sort, then realized that the Tags and Labels die set would be the perfect addition to this project. So, I cut the largest tag out of black cardstock, and cut out the hole reinforcers and the sentiment out of the same orange as the leaves. I used orange and yellow twine to tie it onto the wreath form.
This project was so simple and it was so much fun to make with Molly! It could be done for any holiday or just for fun. I hope that you enjoyed my take on i-crafter's Folded Maple Leaf die set and Tags and Labels die set

If you’d like to see more of my projects, you can follow me here: Instagram, and Facebook page.
 
Until next time,
Rachel
 
For more inspiration, updates, and news make sure to check out these awesome places!
 
 
Thank you so much for stopping by today!

Thursday, October 14, 2021

Thinking of You With Chrysanthemums

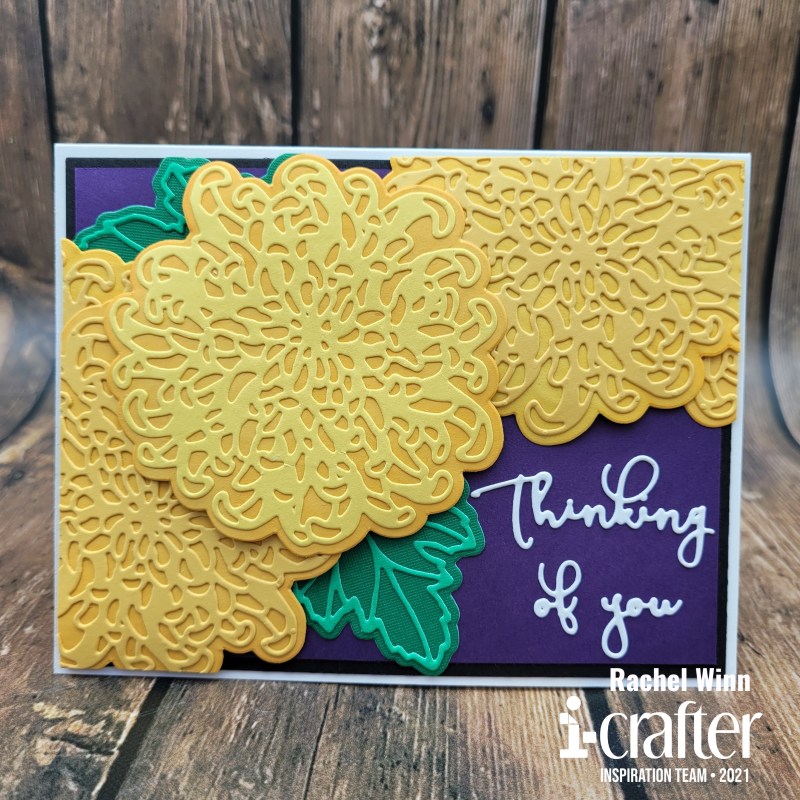
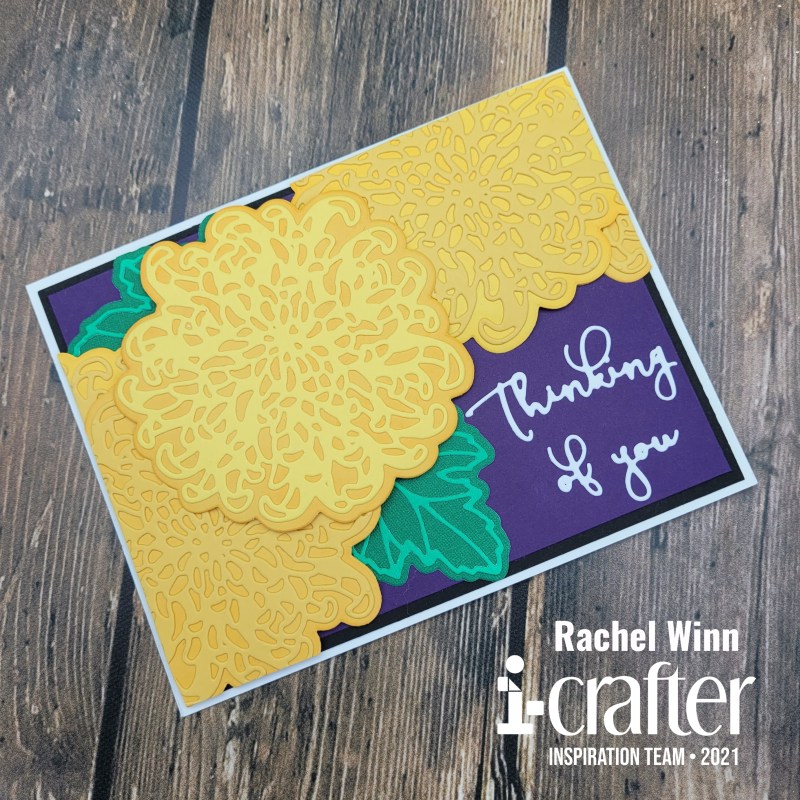
Hi all! I have a beautiful card to share with you today! I used the new i-crafter Chrysanthemum Blossom die set for a multi-purpose "Thinking of you" card.

I started by cutting out 3 flowers and 3 backers using 2 shades of yellow cardstock, 1 of each from a light yellow, 2 of each from a darker, warm yellow. Next I used my i-brush Blender Brushes to add a light coat of Mango Madness Hybrid Ink to the backers to create a two tone effect to the flowers once they were layered together. I used a fine tip, liquid glue to adhere the flowers to the backers.

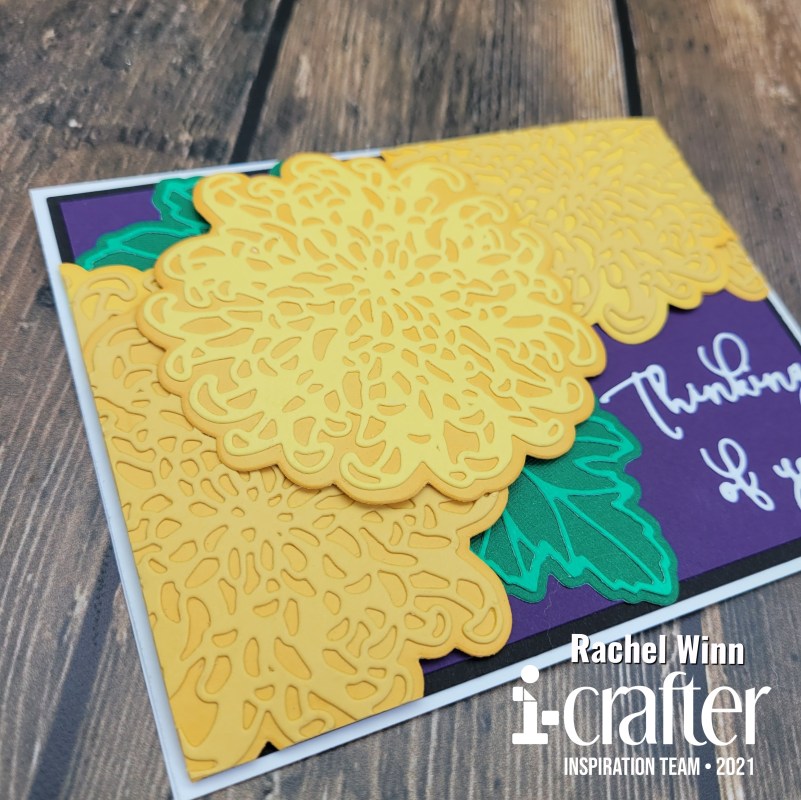
Once they were glued together, I used the round end of the i-Press Burnisher and Pad to create some depth and curve in the Chrysanthemum Blossom flowers. Next, I layered purple cardstock over black to create the card front. I placed the first two Chrysanthemum Blossom flowers on the corners where I wanted them using foam adhesive, this gave extra dimension and allowed the curves I had created to have room to fall down to the card front. I placed the Chrysanthemum Blossom flowers hanging slightly off card front then I used my guillotine trimmer to cut the extra off parts of the flowers that were past the edges of the black cardstock.

Once the first two Chrysanthemum Blossom flowers were in place, I added the third to the top, between them again using foam adhesive. Next, I tucked my Chrysanthemum Blossom leaves in beneath the Chrysanthemum Blossom flowers. I only cut out 2 Chrysanthemum Blossom leaves, I chose to go with a lighter green for the outline vines and a darker for the body. Next, I took a few of the pieces of the Chrysanthemum Blossom flowers that had been trimmed off and added them back in strategic positions under the 3 flowers to fill out the Chrysanthemum Blossom flowers. I glued them using liquid adhesive, laying flat beneath the other flowers added more depth to the card.

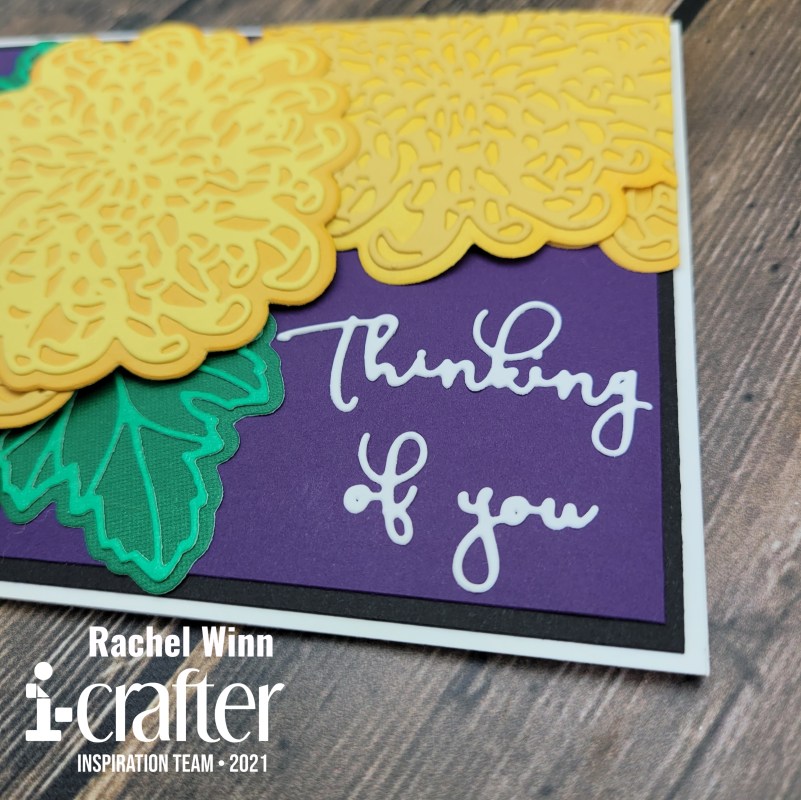
Finally, I cut out the beautiful "thinking of you" that is in the Chrysanthemum Blossom die set from white cardstock and glued it in the open space that I had left for it and added the card front to a solid white card base. I love that this could be a "Just Because" card, or is thoughtful enough to use for a "Get Well" or "Sympathy" card too. These types of cards typically are difficult for me but this took me very little time and I enjoyed the process a lot!

I hope that you’ve enjoyed my project! If you’d like to see more of my projects, you can follow me here: blogInstagram, and Facebook page.
 
Until next time,
Rachel
 
For more inspiration, updates, and news make sure to check out these awesome places!
 
 
Thank you so much for stopping by today!

Monday, September 27, 2021

A-Haunting We Will Glow!


Welcome to the A-Haunting We Will Glow Collab Hop with i-crafter and Pear Blossom Press! We're sharing spooky sweet projects for Halloween. Featuring interactive dies from i-crafter, and with help from Pear Blossom Press, they all really light up! Be sure to hop along with us for lots of inspiration; we’ve come up with some brilliant cards. Let me show you mine...

I started with the i-crafter Halloween Treat Lantern dies and a Graphic 45 Halloween Paper Pad. I decided the purple paper would work nicely for my lantern. I used the spiderweb insert for the i-crafter Halloween Treat Lantern and then cut a piece of 2.25"x2.25" piece of vellum to back the spiderweb with. I lightly covered the exterior of the frame and the web strings with Art Glitter Glue to attach the vellum. 


Next, I added the haunted house from the i-crafter Tunnel Card, Halloween Add-On die set cut out of black cardstock. I trimmed it down so that it fit to in the lantern and added it behind the vellum, again attaching it with Art Glitter Glue. I knew that I wanted the lights to shine through the windows so I pried the shutters back into the lantern a bit. After I had the haunted house attached, I flipped it over and used Pear Blossom Press's White Essential Gel Pen to write "Press Me" and drew an arrow to where I planned to place the button for my EZ-Lights to light up my project.


I used a Large Zots to secure the Power Pack of the EZ-Lights to the back of the Lantern, then used Small Zots to position my lights. 


To give me a little more control of the placement, I first wrapped the Zot around the wire just below the LED light, then positioned the light above the window or door, and firmly pressed down to secure the light's position. This allowed me better control of where the light was pointed than simply placing the light on the Zots like I have in the past. 


I used the same technique to secure the wires as they traveled down the back of the haunted house to the Power Pack. Typically I do this with washi tape since I have so much of it on hand, but in order to have a lower chance of them showing the Zots seemed to be a better choice to me.


Finally, to secure the extra length of wire on each string, I gathered it all up and used washi tape to secure it to the Power Pack of the EZ-Lights.


 It was hard to get a good picture of these "guts" because my camera kept trying to focus on one piece or another!


I decorated the front of the lantern last, I die cut the pumpkin from the i-crafter Tunnel Card, Halloween Add-On die set out of orange glitter cardstock and backed it with a small piece of black cardstock. I glued this over the button on the EZ-Lights.


The last piece was the ghost from the Tunnel Card, Halloween Add-On die set, I die cut it out of a White Flock Sheet backed with Foam Adhesive. I backed the ghost's face with a small piece of black cardstock as well. I used a black jewelry cord to create a loop that would allow me to hang this from a door knob or hook.


I love the finished look. It's really neat both unlit and lit up!


Here is a short video showing it light up as well!


Now, be sure you keep hopping to be inspired further by the i-crafter Inspiration Team and the wonderful ladies joining us from Pear Blossom Press. Here is the hop line up:
Rachel Winn (You are here)
Cassie Trask (Next Stop)

Every good hop has prizes, right? So i-crafter, and Pear Blossom Press are each giving away a $25 store credit! Comment on this post by October 4, 2021 to be entered to win. Winners will be announced on October 8th. Ready for more inspiration? Amanda from Pear Blossom Press will be live on YouTube today, and Lynda from i-crafter will be live on Facebook today at 11:00am. Be sure to tune in!

Thanks for stopping by,
R. Winn

For more inspiration, updates, and news make sure to check out these awesome places!


Thank you so much for stopping by today!